Heat & Cold guide · Updated 2026
Cold Plunge Setup Guide: Chillers, DIY Tubs, Filtration & Temperature Targets for Consistent Home Cold
A detailed 2026 guide to building a home cold plunge — stock-tank ice baths, DIY chiller systems, insulated barrels, dedicated chillers, premium all-in-ones, and inflatable starters — with sanitation and temperature realism.
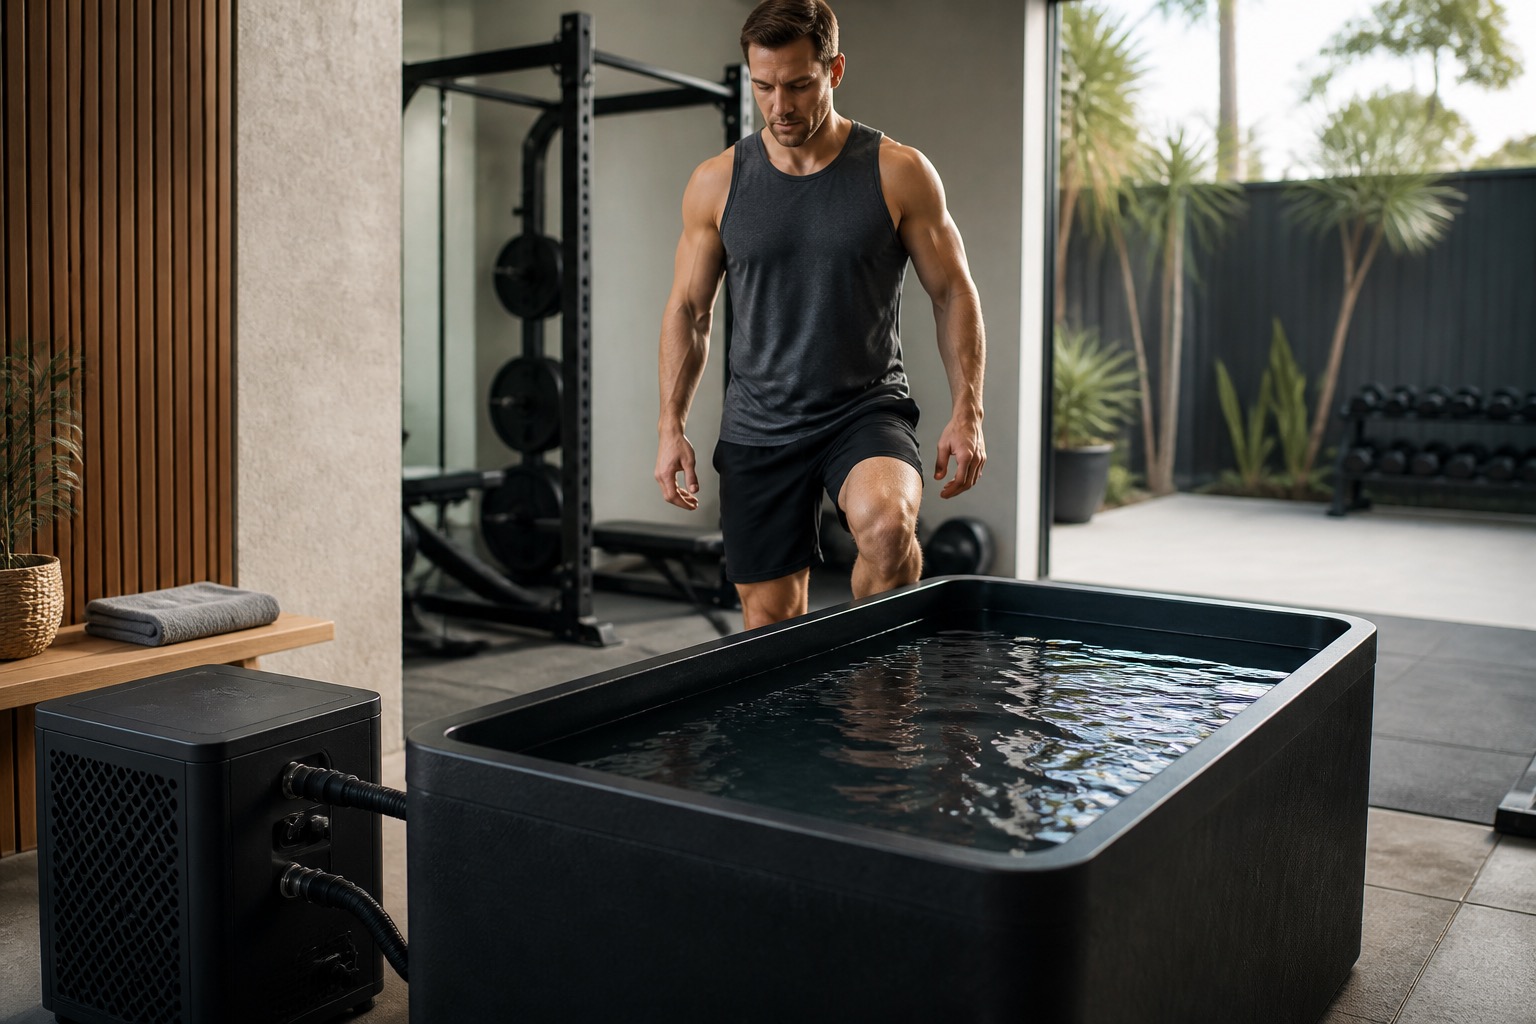
Cold plunge setups range from a $200 inflatable and bags of ice to five-figure furniture with Wi-Fi chillers. In 2026 the useful question is not “how cold can it go?” — it is whether you can hold a measured temperature band, keep water sanitary, and show up often enough for cold exposure to become a practice.
Ice-only DIY proves the habit. DIY chillers buy consistency without premium invoices. Insulated barrels shrink footprint and melt rates. Dedicated chillers and all-in-ones reduce friction. Pick the lowest-friction system you will maintain — then stop shopping.
Key takeaways
- Best cheap experiment: Stock Tank + Ice (or an inflatable pod).
- Best value consistent system: DIY Stock Tank + Active Aqua-class chiller.
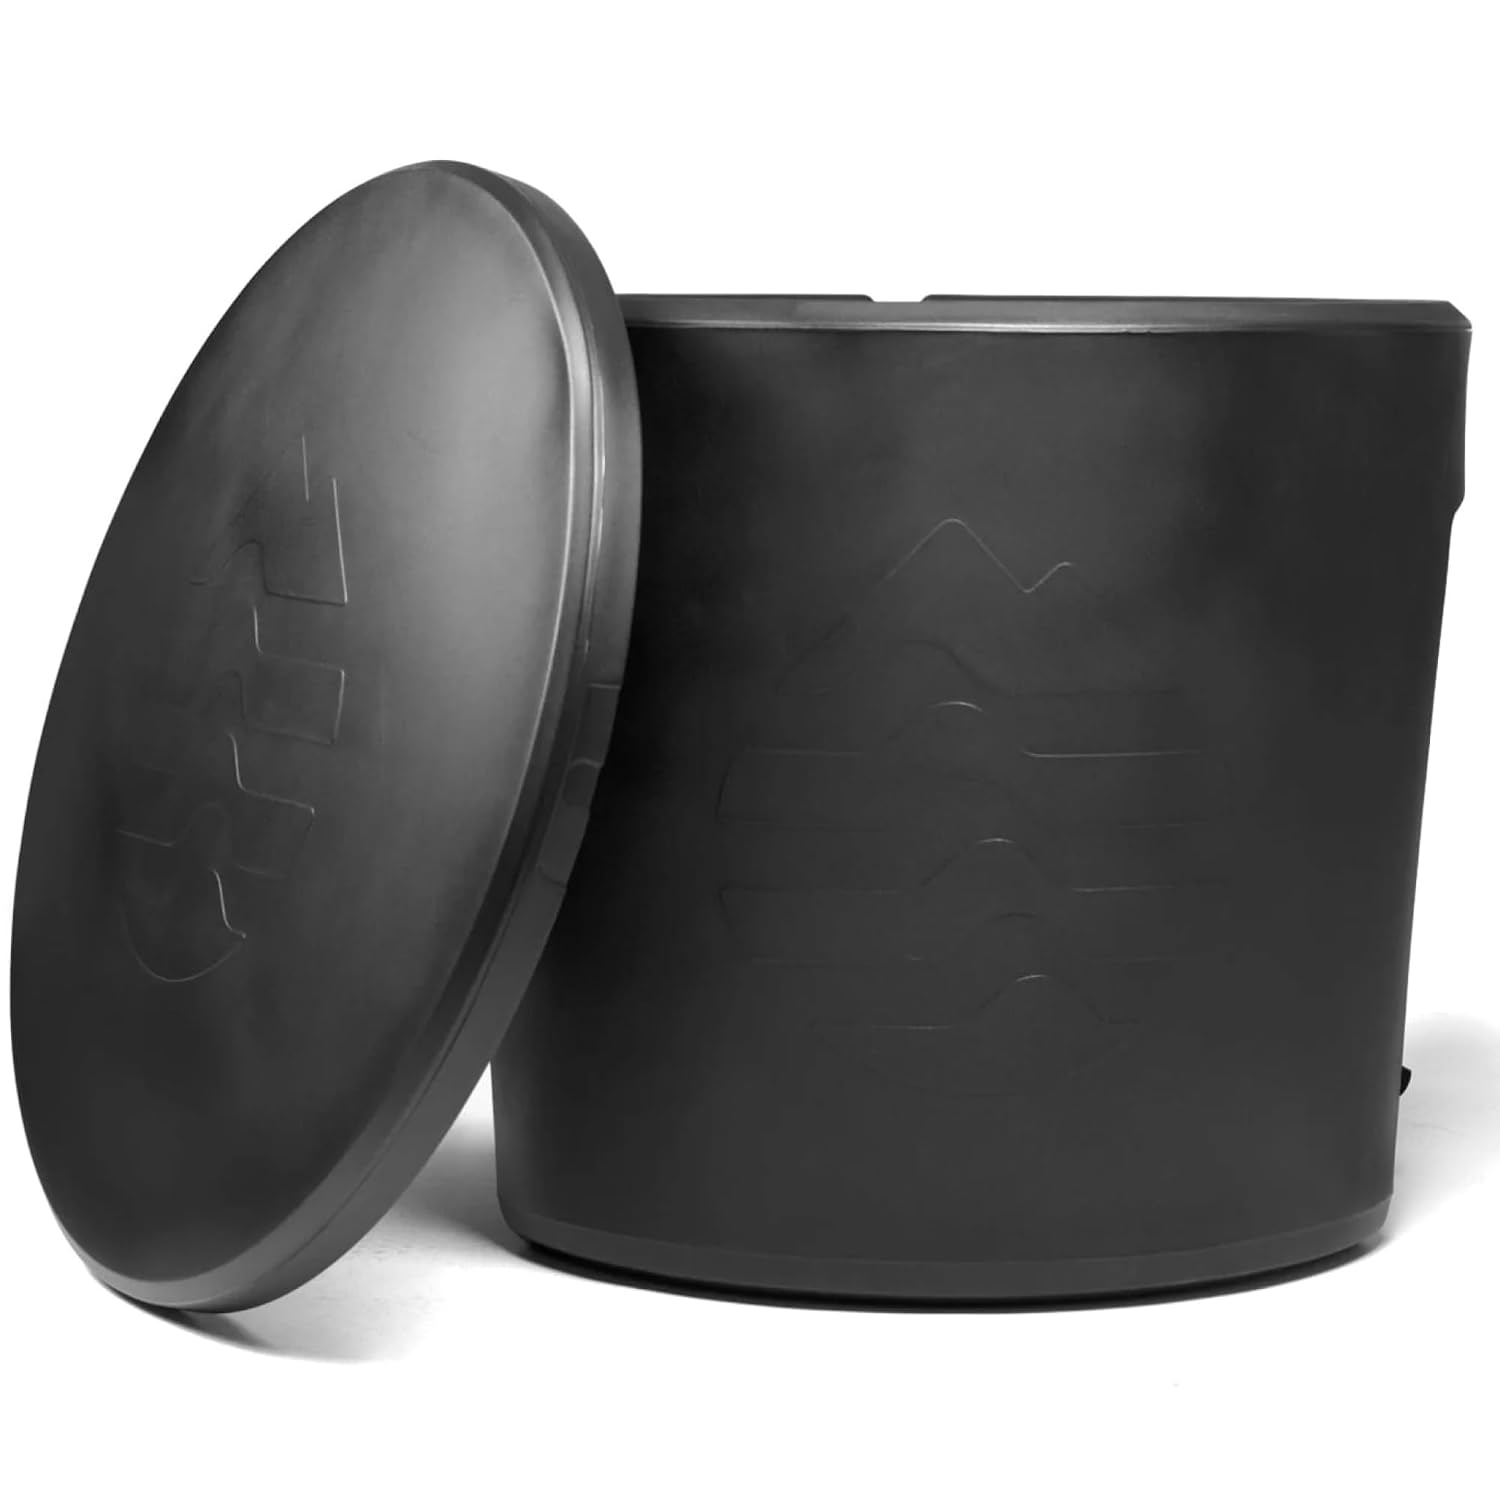
- Best compact insulated vessel: Ice Barrel 300.
- Best dedicated cooling upgrade: Penguin Cold Therapy-class chiller.
- Best turnkey tub: The Plunge (all-in-one).
- Best portable apartment start: Inflatable Cold Pod.
- Biggest buying mistake: paying all-in-one money before proving weekly adherence — or chasing 37°F brag temps when recovery research often lives in the 50s°F.
How we evaluate cold plunge setups
Editorial scores favor systems that deliver repeatable, sanitary cold for everyday athletes — not misery contests. We score each option across five pillars:
- Temperature control (25%) — hold a target band without heroic ice runs.
- Sanitation practicality (20%) — filtration, water changes, real maintenance.
- Adherence friction (20%) — setup time, aesthetics, noise, readiness.
- Ownership cost (20%) — hardware + ice/electricity over 1–3 years.
- Buyability (15%) — Amazon DIY path vs specialty turnkey.
Important limitation: Keersa Health scores are editorial synthesis. Cold exposure has medical contraindications (cardiac risk, Raynaud’s, uncontrolled hypertension, pregnancy concerns, etc.). Get clearance when needed.
Temperature targets that matter
Cochrane and related CWI reviews often study water around 10–15°C for several minutes to influence soreness and recovery perception. That is a chiller’s real job: hold a boring, measured band. Meta-analyses also show temperature and duration influence outcomes — so buy a thermometer before you buy a colder compressor.
Separately, habitual cold right after hypertrophy training may blunt some adaptation signals. Setup choice does not erase timing mistakes.
Features that matter most
- Chiller vs ice — consistency and operating cost.
- Insulation — duty cycle, summer performance, ice melt.
- Filtration / sanitation plan — non-optional for standing water.
- Electrical safety — GFCI, outdoor ratings, dry equipment placement.
- Footprint — lie-flat tub vs upright barrel vs packable inflatable.
Interactive comparison
Filter by form factor, sort by score or price, and pin up to three options for a focused side-by-side view.
Tradeoff:
Sticker price still matters here — most options are one-time hardware buys, so the three-year estimate mainly reflects purchase price plus expected upkeep.
Estimates are directional and based on common public pricing patterns. Promotions, refurbished units, family plans, and tier changes can move these numbers materially.
3-year cost of ownership
Device
Year 1
3-year estimate
Amazon Price
DIY Stock Tank + Active Aqua Chiller
$1,650
$2,100
$859.89
Penguin Cold Therapy Chiller
$2,200
$2,550
—
Ice Barrel 300
$1,400
$1,900
$1,149.99
The Plunge (All-in-One)
$6,400
$7,200
—
Stock Tank + Ice
$900
$2,200
$218.56
Inflatable Cold Pod
$700
$1,600
$49.99
Form factor decides friction. Ice-only is a test. DIY chillers are the value engine. Insulated barrels improve hold. Turnkey tubs buy convenience.Ice vs DIY chiller vs turnkey
Choose ice-only or inflatable if...
Choose DIY stock tank + chiller if...
Choose insulated barrel + dedicated chiller if...
Choose a premium all-in-one if...
Wait on the category if...
Below are deeper notes on every option in the comparison table, sorted by editorial score. Jump directly from the table pins or the cost section.
DIY / Active Aqua · Kit
Best for: Best value consistent cold: hold recovery temps without daily ice runs
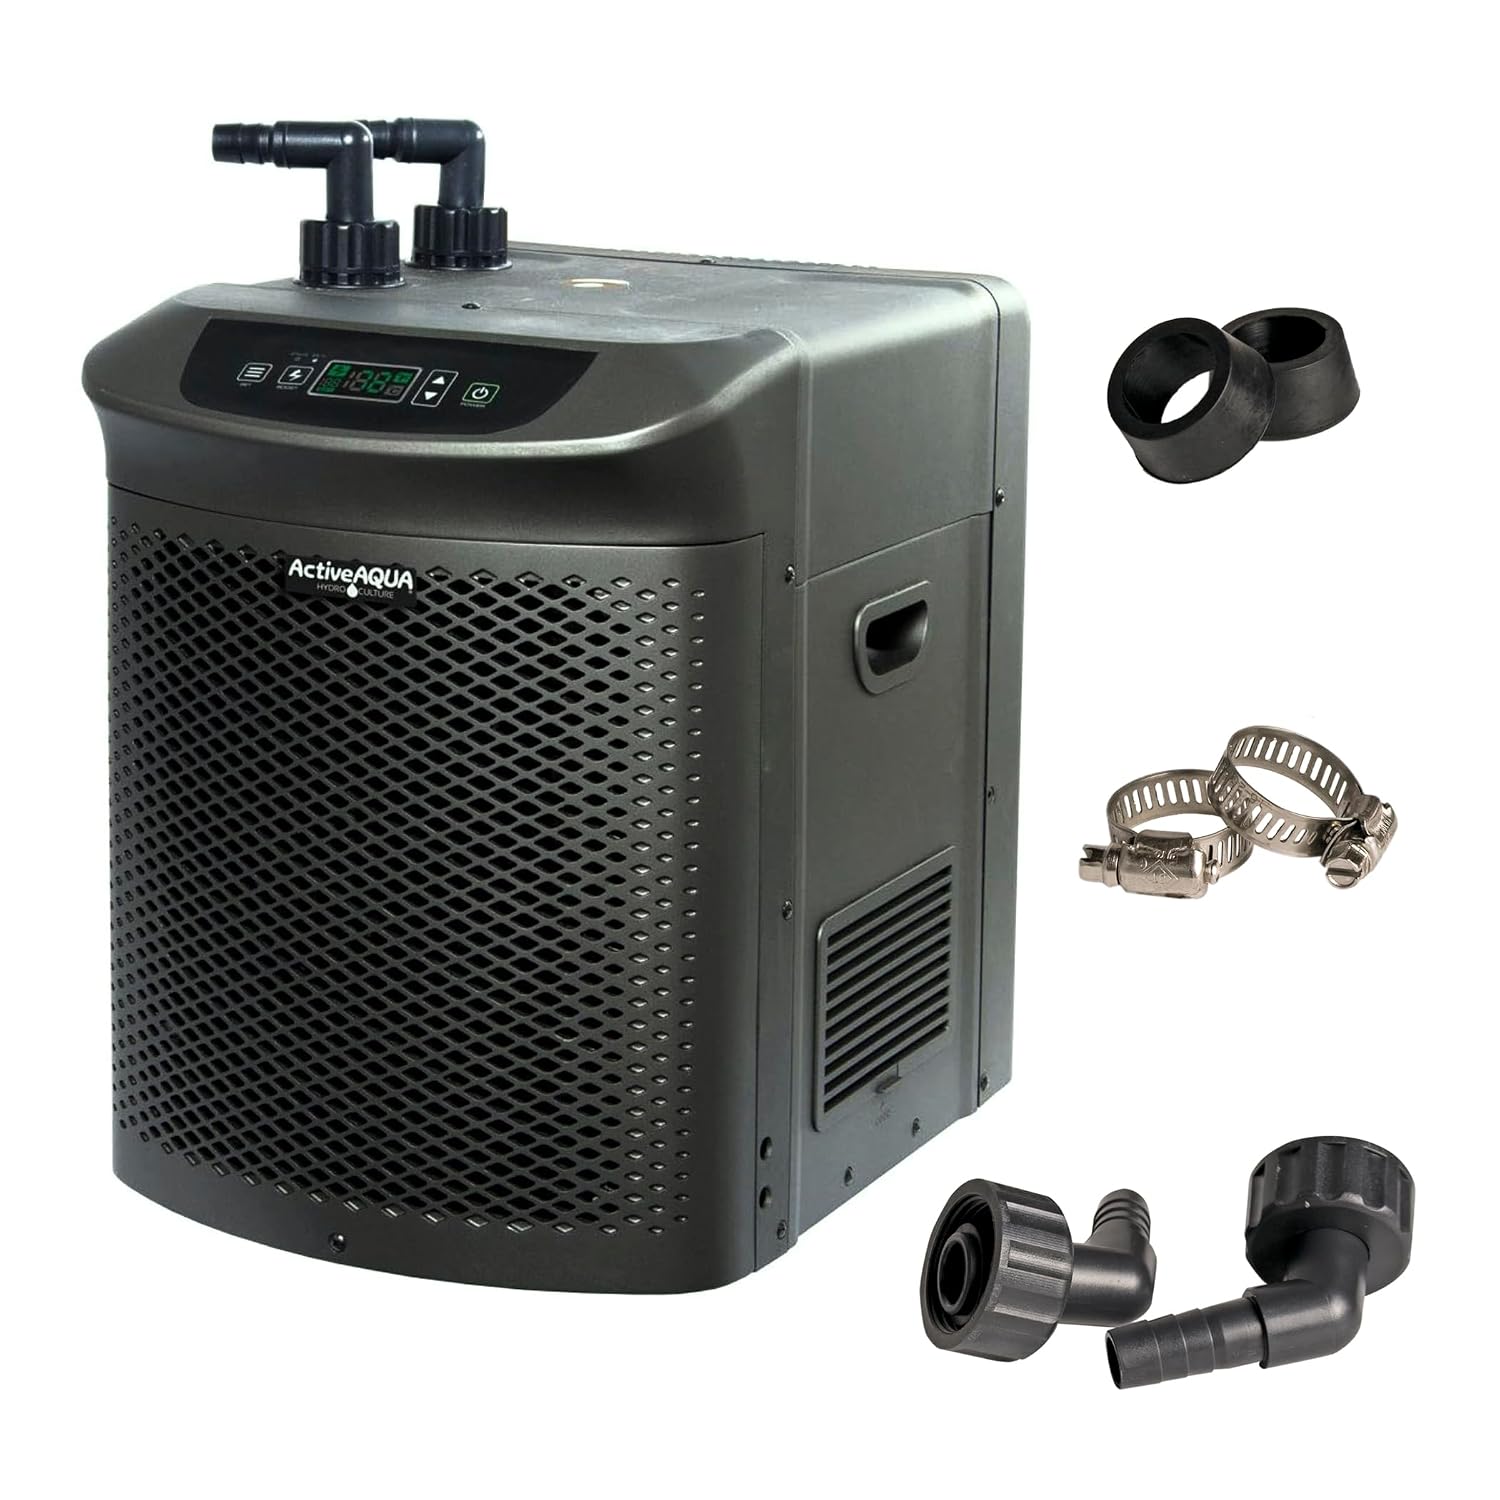
DIY Stock Tank + Active Aqua is the workhorse home plunge: a 100–150 gallon tank, 1/4–1/2 HP chiller, pump, and filter holding roughly the 50–59°F recovery band. Buy it when ice-only becomes a chore. Size chiller HP to volume, ambient heat, and insulation. Uninsulated metal tanks need more cooling power. Use GFCI protection. Keep electrical gear dry and elevated. Choose DIY chiller for value consistency. Skip it if you want zero plumbing and will pay for turnkey.
Estimated ownership: about $1,650 in year 1 and
$2,100 over 3 years.
Assumes tank + ~1/2 HP Active Aqua-class chiller + pump/filter/hose + insulation. Electricity and filter changes ongoing.
Penguin Chillers · Chiller
Best for: Dedicated cold-therapy chiller when aquarium-class DIY units are undersized or too fiddly
Penguin Cold Therapy-class chillers are the upgrade compressor for serious home plunges: stronger, purpose-built cooling than many aquarium transplants. Buy when DIY Active Aqua setups cannot hold your target in summer. Match fittings to your vessel (Ice Barrel kits differ from stock-tank hose builds). Colder setpoints cost more energy; recovery literature often lives in the 50s°F, not the high 30s. Choose Penguin-class when consistency in heat is the bottleneck. Keep Active Aqua if your insulated build already holds.
Estimated ownership: about $2,200 in year 1 and
$2,550 over 3 years.
Chiller package only. Add barrel/tub cost separately. Electricity scales with ambient heat and setpoint.
Ice Barrel · Barrel
Best for: Compact insulated upright plunge with a cleaner look than a stock tank
Ice Barrel 300 is the insulated middle path: better than a naked stock tank, cheaper than a premium all-in-one, and ready for a chiller when ice fatigue hits. Insulation is the product. It cuts ice melt and chiller duty cycle versus thin tanks. Confirm person height fit before buying upright designs. Choose Ice Barrel for compact insulated form. Pair Penguin-class chillers when you want set-and-forget cold.
Estimated ownership: about $1,400 in year 1 and
$1,900 over 3 years.
Barrel-only year costs assume ice use. Add $1,500–$4,000 if pairing a dedicated chiller.
Plunge · Tub
Best for: Turnkey chilled plunge with filtration and polish for people who will not DIY
The Plunge-class all-in-one is the buy-it-done option: consistent cold, filtration, and a productized experience. Buy it for time and aesthetics — not because DIY cannot hit the same water temperatures. Compare three-year DIY chiller math before assuming turnkey is “required” for benefits. Verify electrical requirements and outdoor ratings for your climate. Choose all-in-one if DIY is a non-starter. Choose DIY if you optimize $/°F held.
Estimated ownership: about $6,400 in year 1 and
$7,200 over 3 years.
Hardware plus freight/delivery and electricity. Filter/ozone consumables vary by model.
DIY · Tub
Best for: Cheapest proof-of-habit cold exposure before buying a chiller
Stock Tank + Ice is the honest Stage 0 setup: prove the habit before financing a chiller. Buy it to test consistency — not as a multi-year daily system. Aim for roughly 10–15°C (50–59°F) recovery water rather than pain contests. Thermometer required. GFCI power is still relevant once you add pumps/chillers later — plan the outlet now. Choose ice-only to experiment. Graduate to a chiller when ice logistics or weekly cost annoy you.
Estimated ownership: about $900 in year 1 and
$2,200 over 3 years.
Hardware is cheap; frequent ice bags dominate year-1/3 cost if you plunge often. A chiller often wins on operating cost.
Various · Inflatable
Best for: Apartment-friendly portable ice baths when a rigid tub is impossible
Inflatable Cold Pods are the travel/apartment on-ramp: portable ice baths with minimal commitment. Buy to start — plan an exit to insulated + chilled hardware if frequency sticks. Read capacity and material reviews carefully; punctures and seam failures are the failure mode. Same thermometer rule: target a measured band, not vibes. Choose inflatable for portability. Skip it if you already know you want a daily chilled system.
Estimated ownership: about $700 in year 1 and
$1,600 over 3 years.
Low hardware cost; ice and replacements dominate if used often. Many users outgrow these quickly.
Detailed reviews
DIY Stock Tank + Active Aqua Chiller
Pros
Cons
Choose this if
Skip this if
Penguin Cold Therapy Chiller
Pros
Cons
Choose this if
Skip this if
Ice Barrel 300
Pros
Cons
Choose this if
Skip this if
The Plunge (All-in-One)
Pros
Cons
Choose this if
Skip this if
Stock Tank + Ice
Pros
Cons
Choose this if
Skip this if
Inflatable Cold Pod
Pros
Cons
Choose this if
Skip this if
How to build without overbuying
- Prove 3–4 weeks of plunging with ice-only or an inflatable.
- Pick a temperature band (often ~50–59°F / 10–15°C to start) and measure it.
- Insulate before upsizing HP. Lids and wraps beat louder compressors.
- Add filtration early once water sits between sessions.
- Size the chiller to climate + volume. Hot garages need more BTU or better insulation.
- Write stop rules. Shivering uncontrollably, chest pain, confusion, or numbness extremes = exit and reassess.
Quick recommendations by persona
- Just testing: Stock Tank + Ice or Inflatable Cold Pod
- Handy + frequent: DIY Stock Tank + Active Aqua
- Small space, nicer vessel: Ice Barrel 300
- Hot climate / stronger cooling: Penguin Cold Therapy Chiller + insulated vessel
- Zero DIY: The Plunge all-in-one
Many recovery protocols studied in cold-water immersion reviews cluster around roughly 10–15°C (50–59°F) for several minutes. Colder water is not automatically better — and extreme setpoints cost more energy while raising risk for beginners. No. Ice-only stock tanks or inflatables can prove the habit. Add a chiller when ice logistics or weekly cost become the reason you skip sessions. A correctly sized, insulated DIY chiller system can hold the same recovery temperature band. You are mostly paying turnkey brands for integration, filtration polish, aesthetics, and support — not magic water. Standing water needs a plan: filter media, periodic water changes, and an appropriate sanitizer strategy. Chillers cool water; they do not automatically make bathwater safe. Be careful. Evidence suggests habitual post-lift CWI can blunt some anabolic signaling. Consider separating hard hypertrophy sessions from immediate cold, or save plunges for later / non-hypertrophy days. Deeper timing guidance belongs in the cold-around-training guide. Use GFCI-protected circuits, keep chillers/pumps dry and elevated, and follow manufacturer outdoor ratings. Water + electricity is non-negotiable risk management.Cold plunge setup FAQ
What water temperature should a home cold plunge target in 2026?
+
Do I need a chiller on day one?
+
Is a DIY Active Aqua build as cold as a premium Plunge?
+
What about filtration and sanitation?
+
Should I plunge right after lifting for hypertrophy?
+
What electrical safety basics matter?
+
This comparison is designed for practical decision-making. Product capabilities, pricing, and memberships change quickly, so treat battery claims, plan costs, and feature availability as moving targets.
Foundational recovery review: CWI often studied around 10–15°C for roughly 5–15 minutes — the temperature band most home chillers should hold, not extreme marketing lows. Explains proposed mechanisms (blood flow, inflammation signaling, analgesia) and why colder is not automatically better. Supports protocol design around temperature and duration rather than maximal misery. Key caution for lifters: habitual CWI right after hypertrophy training may blunt some adaptation signals — schedule matters.
Xiao et al. / recent CWI meta-analyses on recovery outcomes (Sports Medicine Open lineage)
Newer pooled analyses continue to show small-to-moderate recovery benefits for soreness in many protocols — still protocol- and population-dependent.
Active Aqua / Hydrofarm chiller product documentation
HP ratings, pump requirements, and fittings change by SKU; size the chiller to tank volume, insulation, and climate.
Ice Barrel and Penguin Chillers product documentation
Insulated barrels and dedicated cold-therapy chillers change by generation; verify port sizes and outdoor ratings.
Affiliate disclosure: some product links on Keersa Health may earn a commission at no extra cost to you.
Editorial recommendations are independent of commercial relationships.
Read our full disclosure.
Sources and editorial notes
Bottom line
A home cold plunge is a temperature-control and sanitation project first, a wellness status symbol second. Start cheap to prove adherence, hold a researched recovery band with a thermometer, add a chiller when ice becomes the bottleneck, and pay for turnkey only when friction — not ego — demands it. Related heat practice: Home Sauna Types Compared and Sauna Protocols for Cardiovascular Health.
Next: Cold Exposure Timing Around Training, Contrast Therapy Protocols, and Cryotherapy Chambers vs Cold Water.