Fitness & Mobility guide · Updated 2026
Building a Home Performance Lab: A Staged Roadmap from Grip & HRV to Force Plates & Form AI
A detailed 2026 roadmap for building a home performance lab — Stage 1 biomarkers and readiness, Stage 2 jump testing and strength stimulus, Stage 3 force curves and form coaching — without buying everything at once.
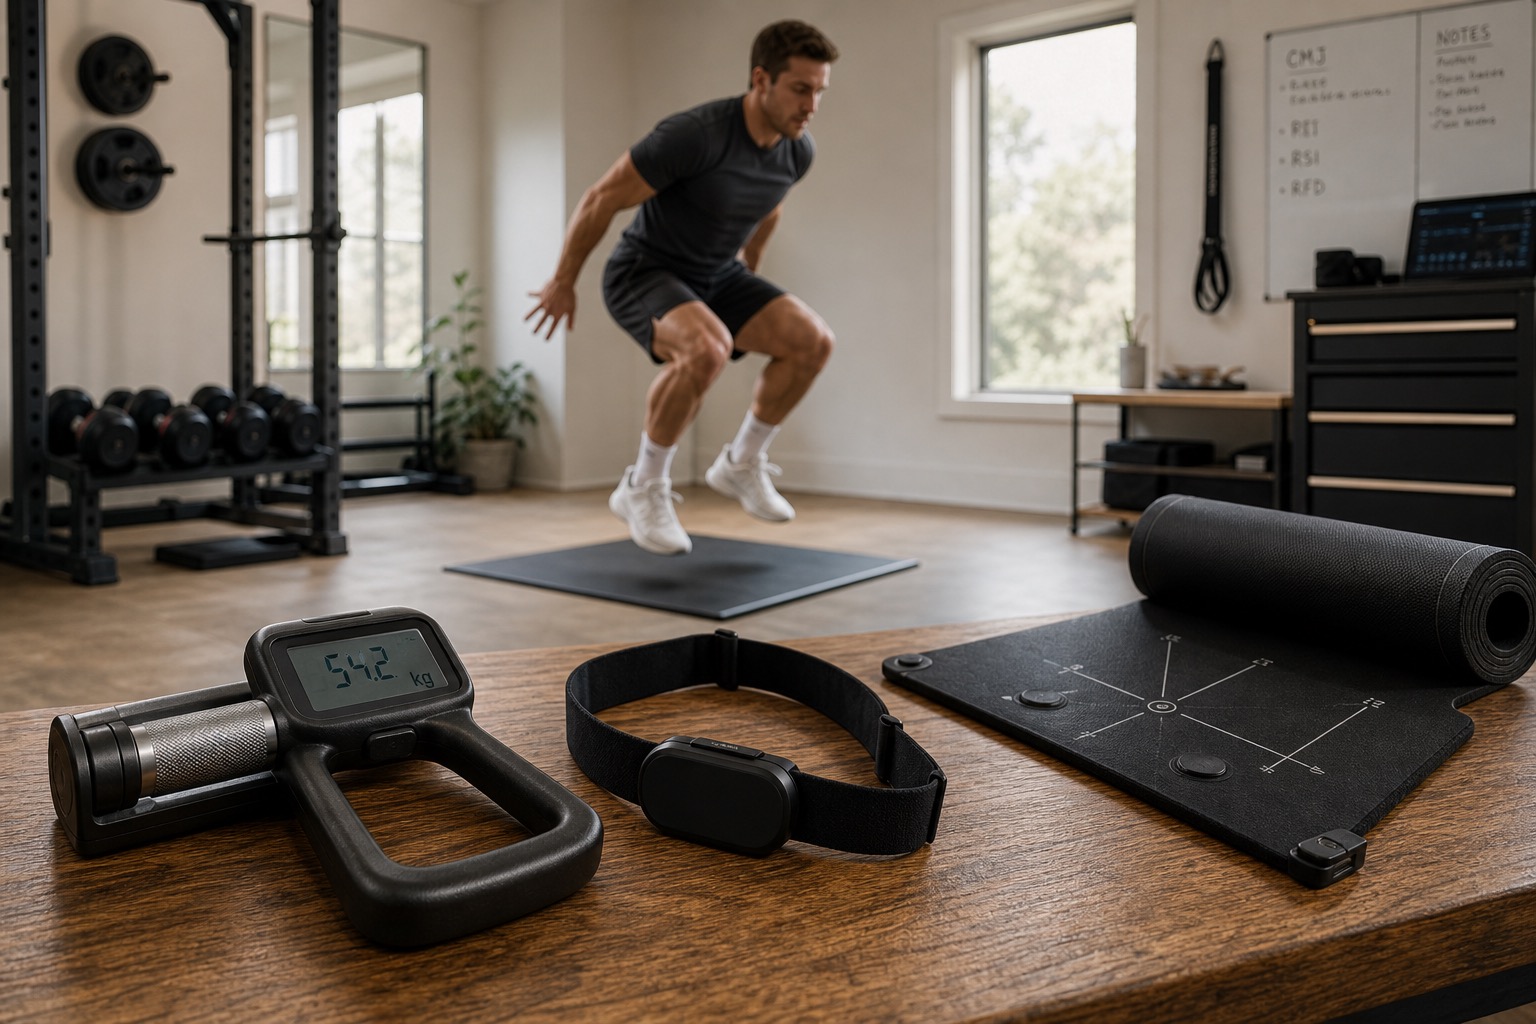
Building a home performance lab is not a single shopping spree. It is a staged system: cheap biomarkers and readiness signals first, then jump and strength stimulus, then force curves and optional form AI — only when the previous layer already changes weekly decisions. In 2026 the useful question is “what instrument earns the next dollar?” not “how do I recreate a university biomechanics bay in the garage?”
Stage 1 measures grip and heart-rate/HRV with protocol discipline. Stage 2 adds neuromuscular jump testing and progressive training hardware. Stage 3 upgrades to true force-time curves and, if needed, concurrent form coaching. Skip stages only when you already have the habit those stages create.
Key takeaways
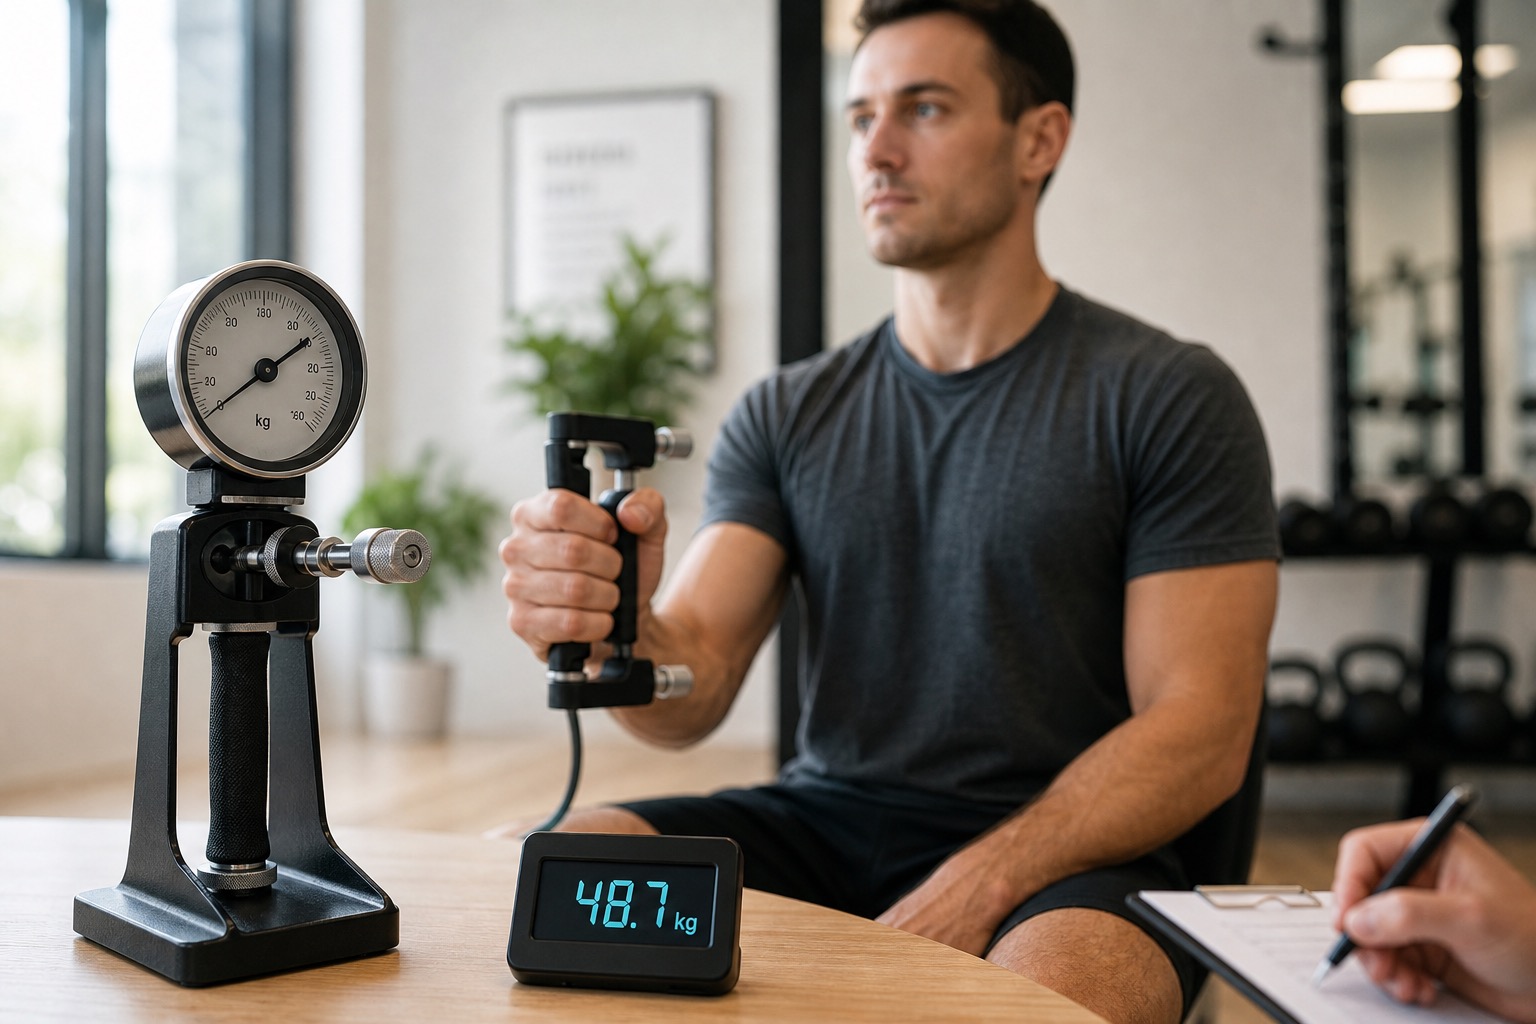
- Stage 1 biomarker: Camry EH101 — grip trends for pocket change.
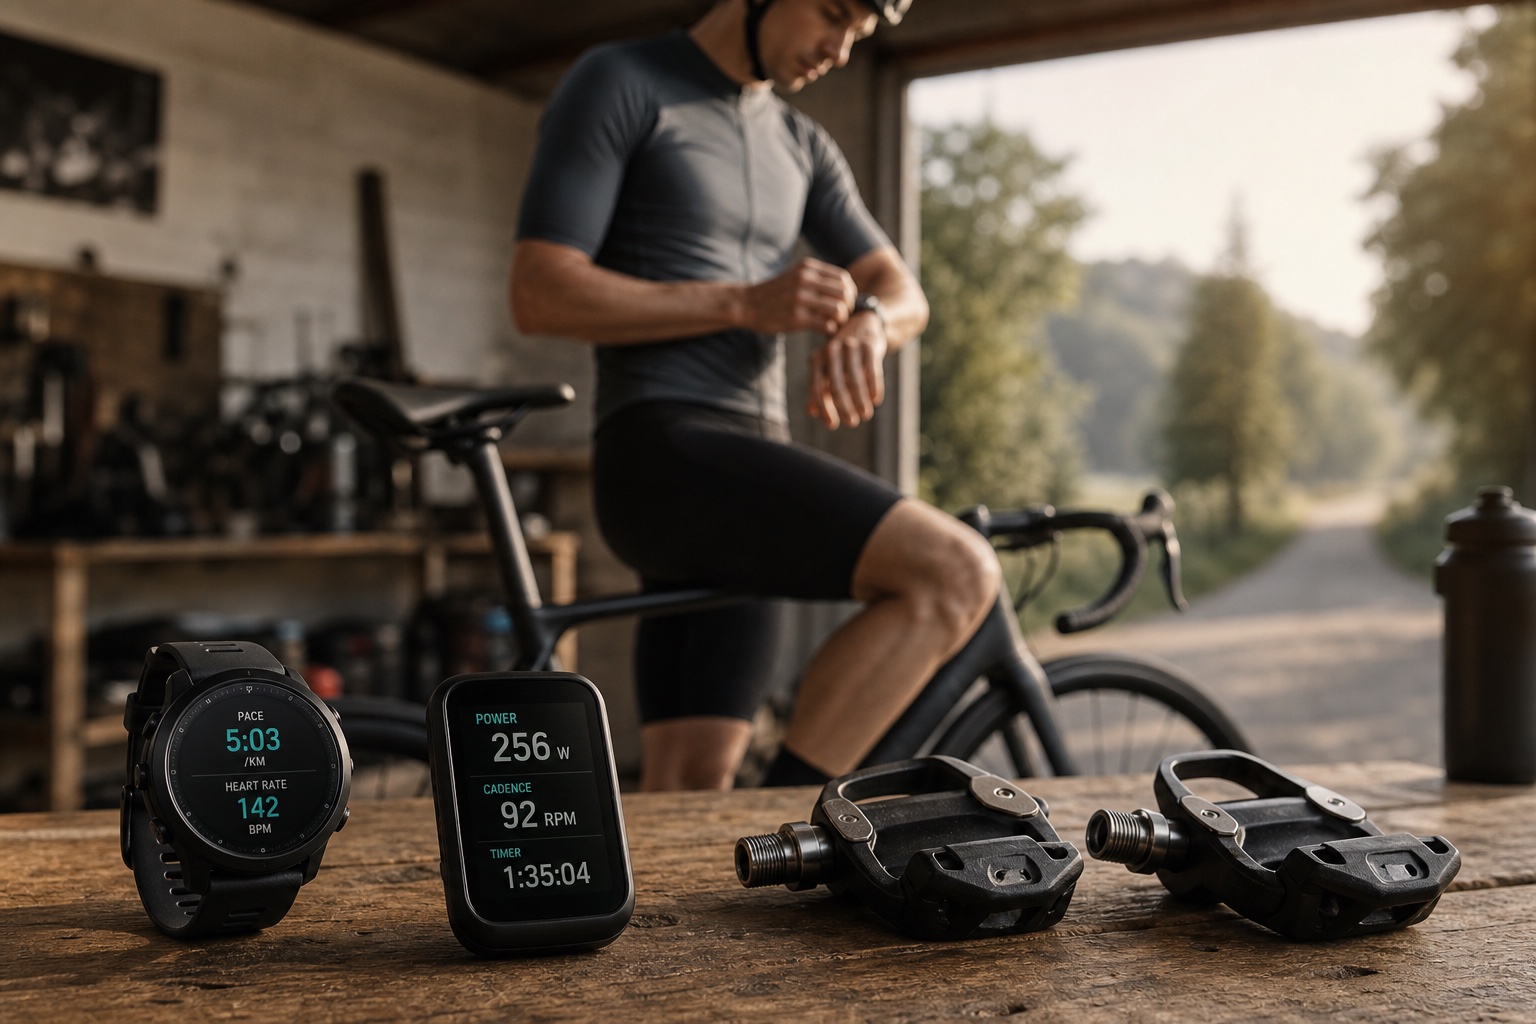
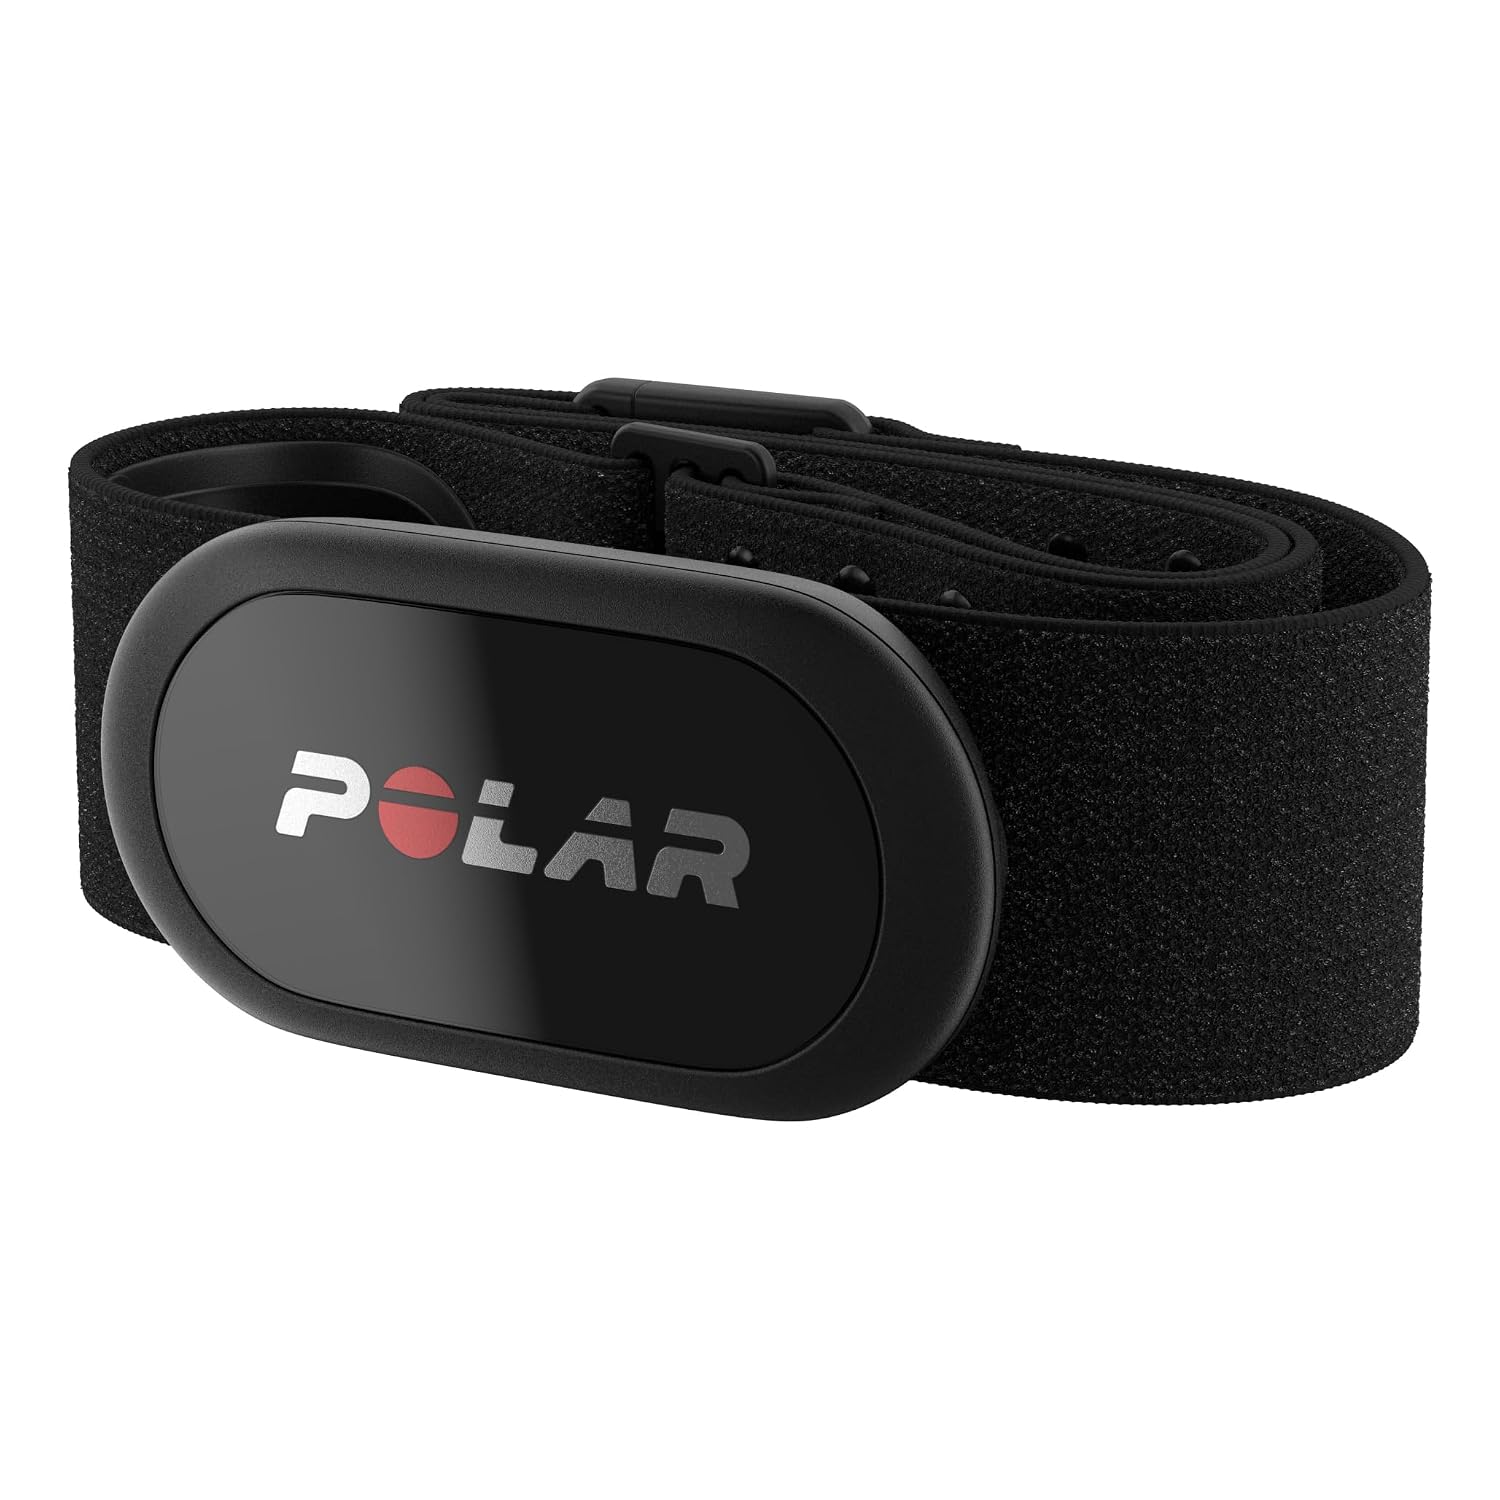
- Stage 1 readiness: Polar H10 — ECG-class HR/HRV without a lifestyle-subscription stack.
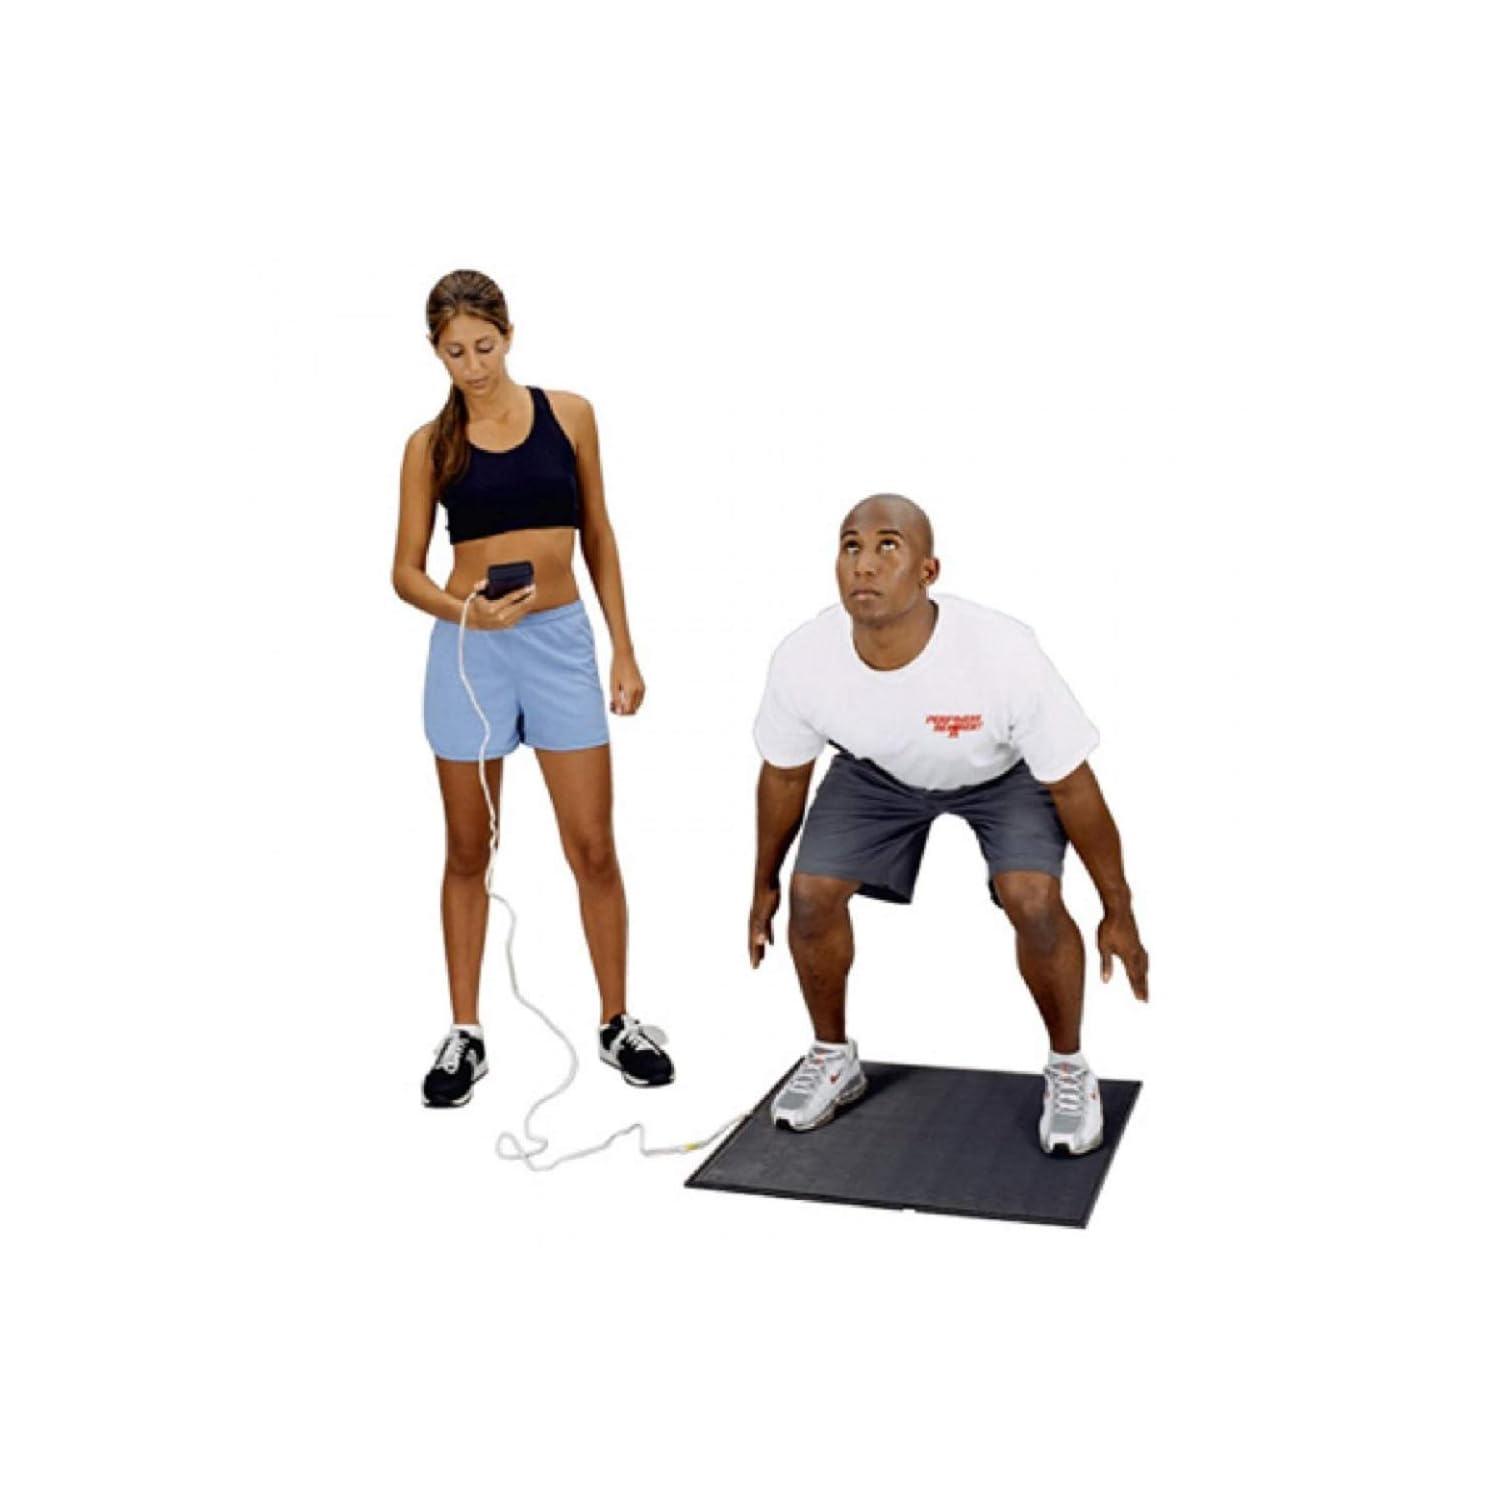
- Stage 2 jump testing: Just Jump System — fast CMJ trends before force plates.
- Stage 2 strength stimulus: Bowflex SelectTech 552 — progressive overload without membership tax.
- Stage 3 force curves: Vernier Go Direct Force Plate — real GRF when height is not enough.
- Stage 3 optional coaching: Tempo Move — form AI after you already train and measure.
- Biggest buying mistake: leasing advanced sensors while skipping a written protocol, a training plan, or Stage 1 habits.
How we evaluate home-lab building blocks
Editorial scores favor tools that earn a place in a staged roadmap for everyday athletes — not demo-day novelty. We score each option across five pillars:
- Decision usefulness (25%) — does the signal change training, recovery, or health actions?
- Protocol fit (20%) — can a non-lab adult repeat the test reliably?
- Stage appropriateness (20%) — right tool for Stage 1 vs 3, not premature complexity.
- Ownership cost (20%) — hardware + memberships over 1–3 years.
- Buyability (15%) — Amazon path vs specialty channels.
Important limitation: Keersa Health scores are editorial synthesis tied to this roadmap. Deep dives live in the linked category guides. SKUs and prices change — verify before buying.
The staging rule
Buy the next instrument only after the last one changed a weekly decision for 4–6 weeks. Grip that you never log is clutter. A force plate that you test twice is a very expensive coffee table. Large-cohort grip evidence, HR/HRV monitoring practice, and jump force-time science all assume consistency — hardware cannot supply that for you.
Features that matter most
- Protocol before purchase — seating, timing, warm-up, and trial rules written down.
- Stimulus + measurement — train hard, then measure what matters.
- Trend over trophy numbers — your delta beats a one-off internet percentile.
- Membership math — cameras and smart gyms can cost more than plates over three years.
- Stop rules — sell unused Stage 3 gear before adding Stage 4 fantasies.
Interactive comparison
Filter by form factor, sort by score or price, and pin up to three options for a focused side-by-side view.
Tradeoff:
Sticker price is misleading in this category. Membership-heavy products can cost more over three years than premium hardware with no required plan.
Estimates are directional and based on common public pricing patterns. Promotions, refurbished units, family plans, and tier changes can move these numbers materially.
3-year cost of ownership
Device
Year 1
3-year estimate
Amazon Price
Membership
Camry EH101 (Stage 1)
$35
$45
$31.99
No membership required
Polar H10 (Stage 1)
$100
$130
$104.95
No required membership (pairs with free/paid apps)
Bowflex SelectTech 552 (Stage 2)
$439
$459
—
No membership required
Vernier Go Direct Force Plate (Stage 3)
$1,149
$1,249
—
Free Graphical Analysis; Pro optional
Just Jump System (Stage 2)
$670
$700
$869.95
No membership required
Tempo Move (Stage 3)
$963
$1,899
—
Membership typically required for coaching features
Buy by stage, not by envy. Stage 1 is biomarkers and readiness. Stage 2 is jump monitoring plus training stimulus. Stage 3 is force curves and optional form coaching.Stage 1 vs Stage 2 vs Stage 3
Stay in Stage 1 if...
Move to Stage 2 if...
Move to Stage 3 if...
Wait on the whole lab idea if...
Below are deeper notes on every option in the comparison table, sorted by editorial score. Jump directly from the table pins or the cost section.
Camry · Dynamometer
Best for: Stage 1 biomarker: maximal grip strength trends with a standardized protocol
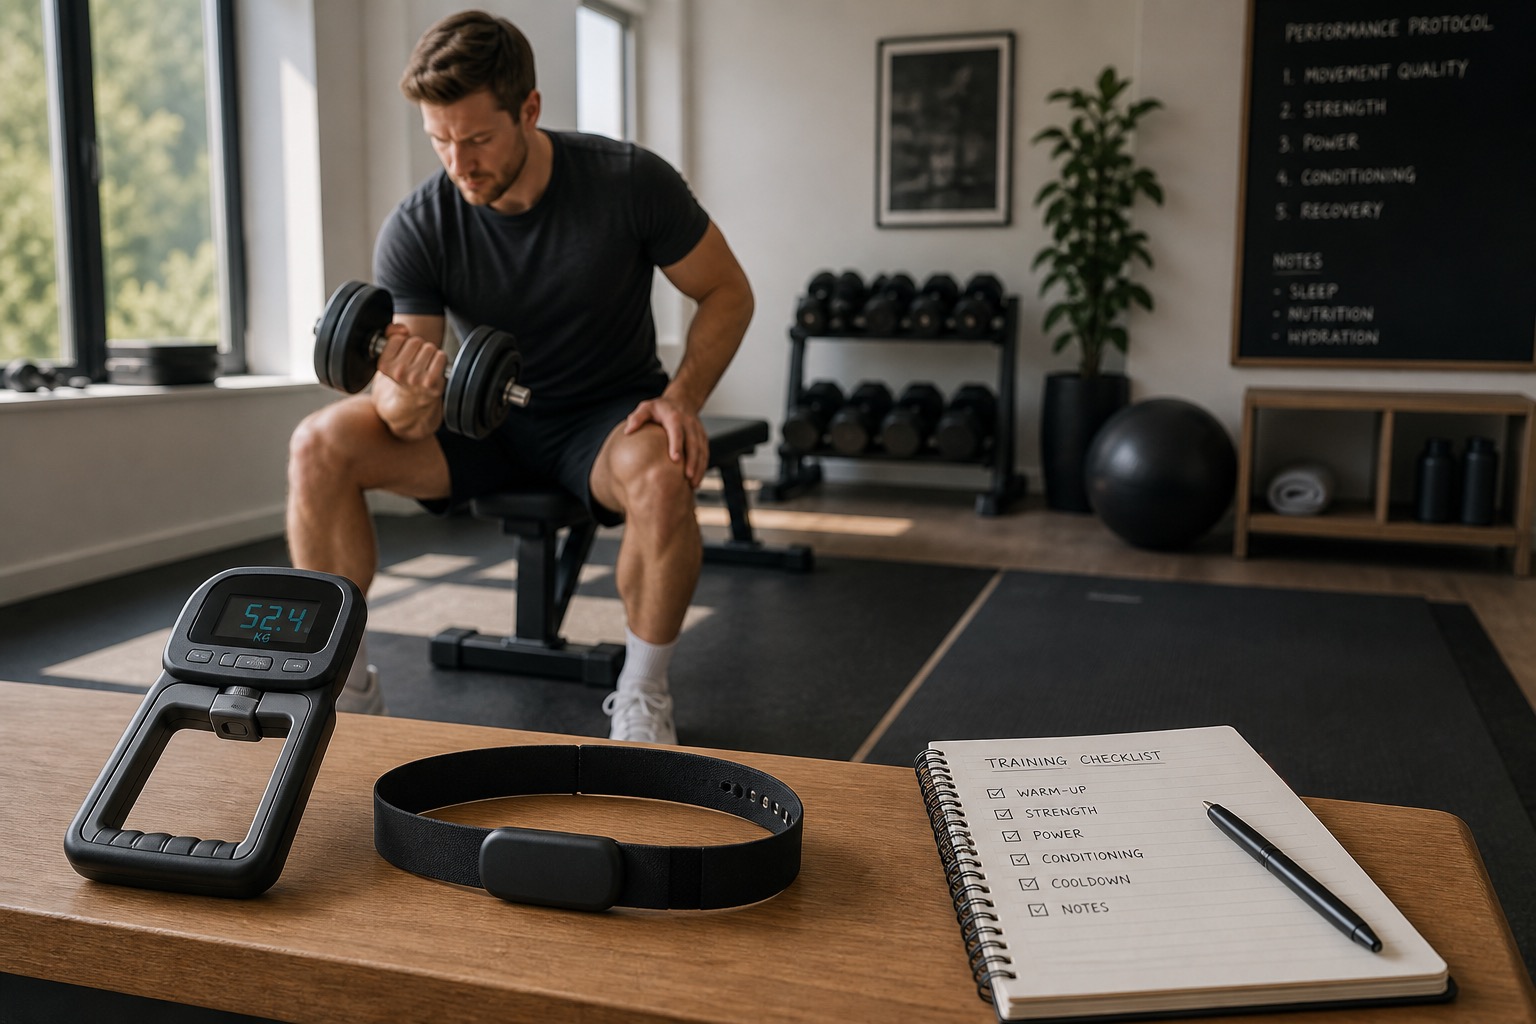
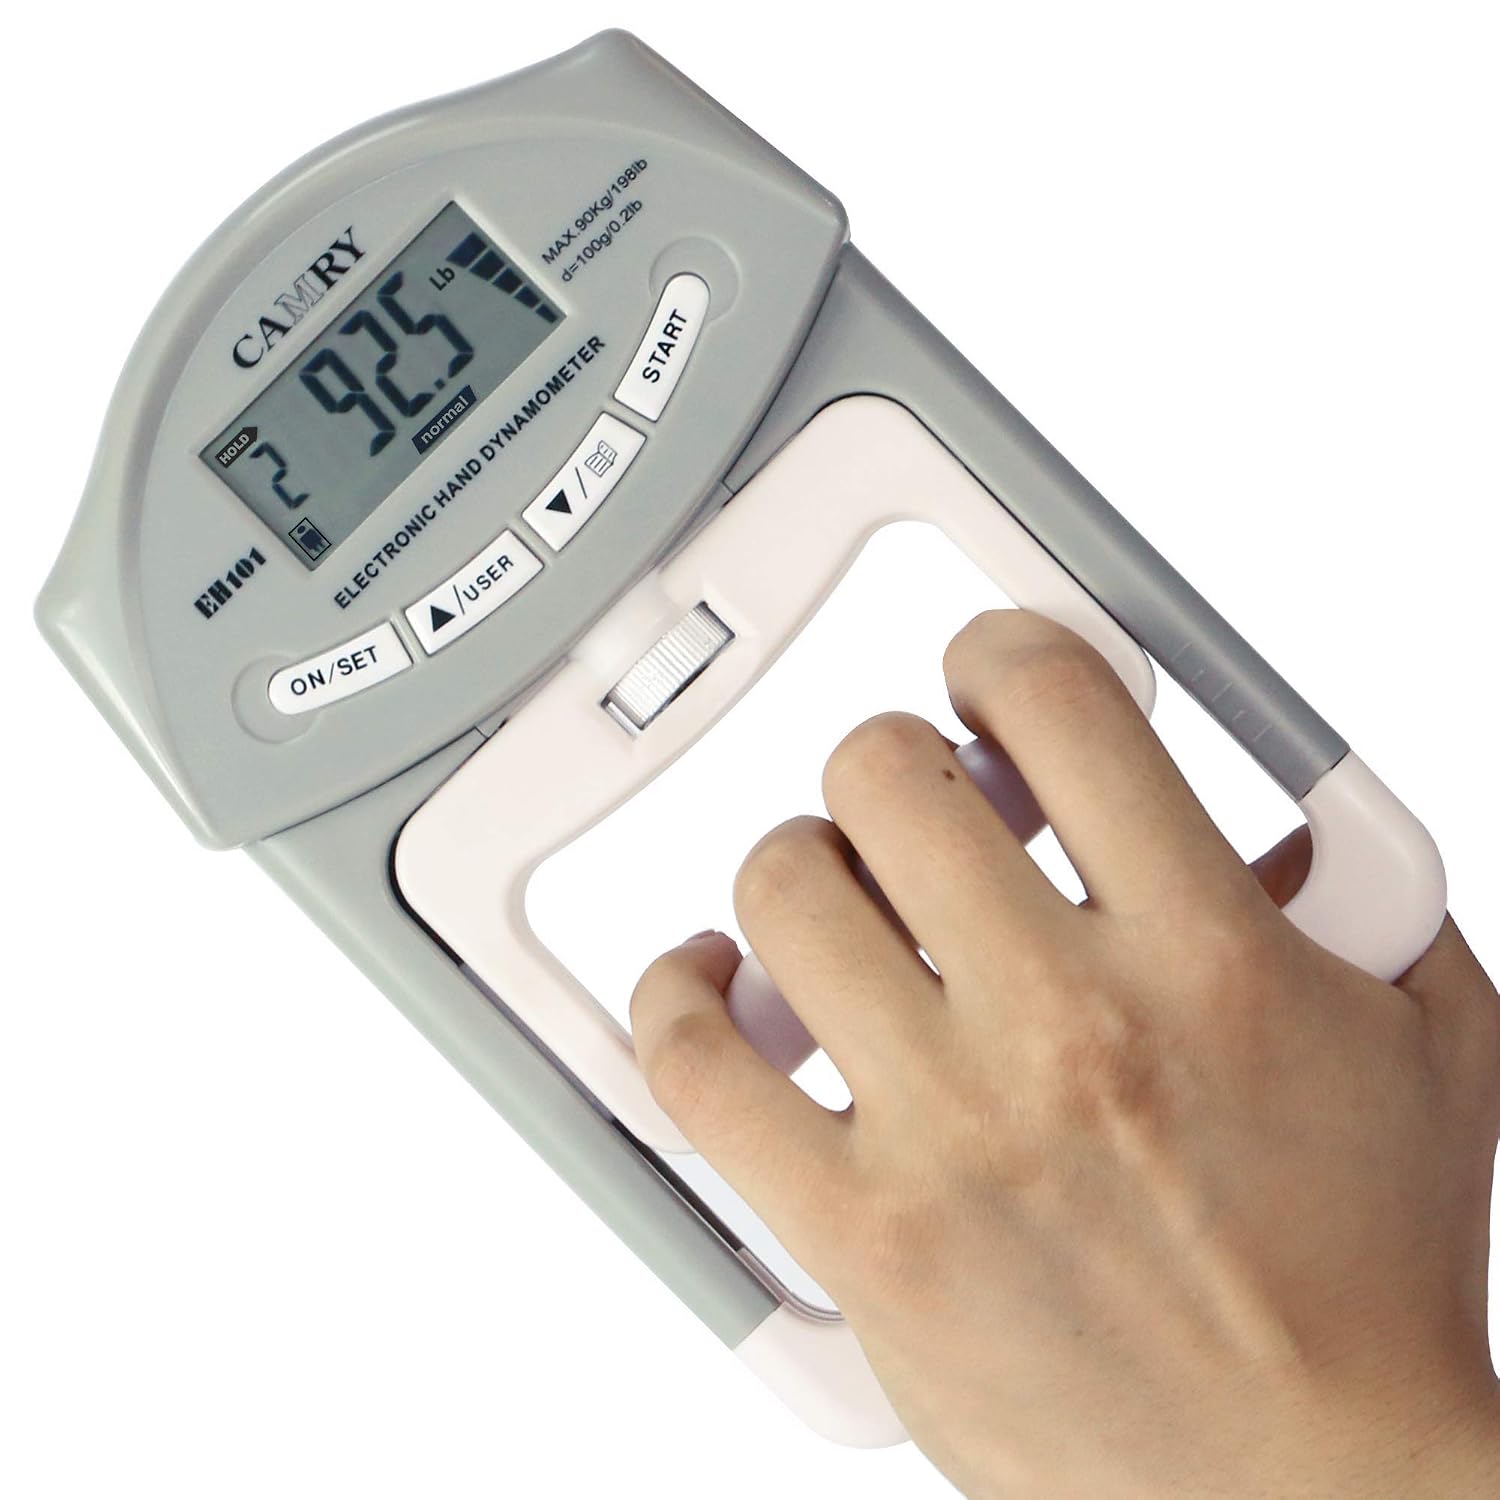
Stage 1 starts with grip: a Camry-class dynamometer gives you a longevity-relevant number for pocket change if you keep seating, handle position, and trials identical every month. Buy this before a force plate. A boring protocol beat an expensive unused sensor. Log best of 2–3 trials per hand on a fixed schedule (e.g., monthly). Escalate to Jamar-class hydraulics only if you need published-norm comparability.
Estimated ownership: about $35 in year 1 and
$45 over 3 years.
Hardware plus AAA batteries. Usually the first instrument in a staged lab.
Polar · Band
Best for: Stage 1 readiness: ECG-quality heart rate and HRV for training and recovery trends
Stage 1 readiness is a Polar H10-class chest strap: better ECG HR/HRV for intervals and morning checks than guessing from optical watches alone. Pair it with consistent timing before you buy another wearable. Use the same morning window and posture for HRV. Variation in conditions looks like “bad recovery.” Keep the strap for hard sessions even if you later add a ring or watch for lifestyle tracking. Choose H10 for signal quality. Skip it only if you already have a trusted ECG strap workflow.
Estimated ownership: about $100 in year 1 and
$130 over 3 years.
Hardware plus occasional strap replacement. Apps for logging may be free or paid.
Bowflex · Dumbbell
Best for: Stage 2 stimulus: progressive strength work without a motorized wall gym
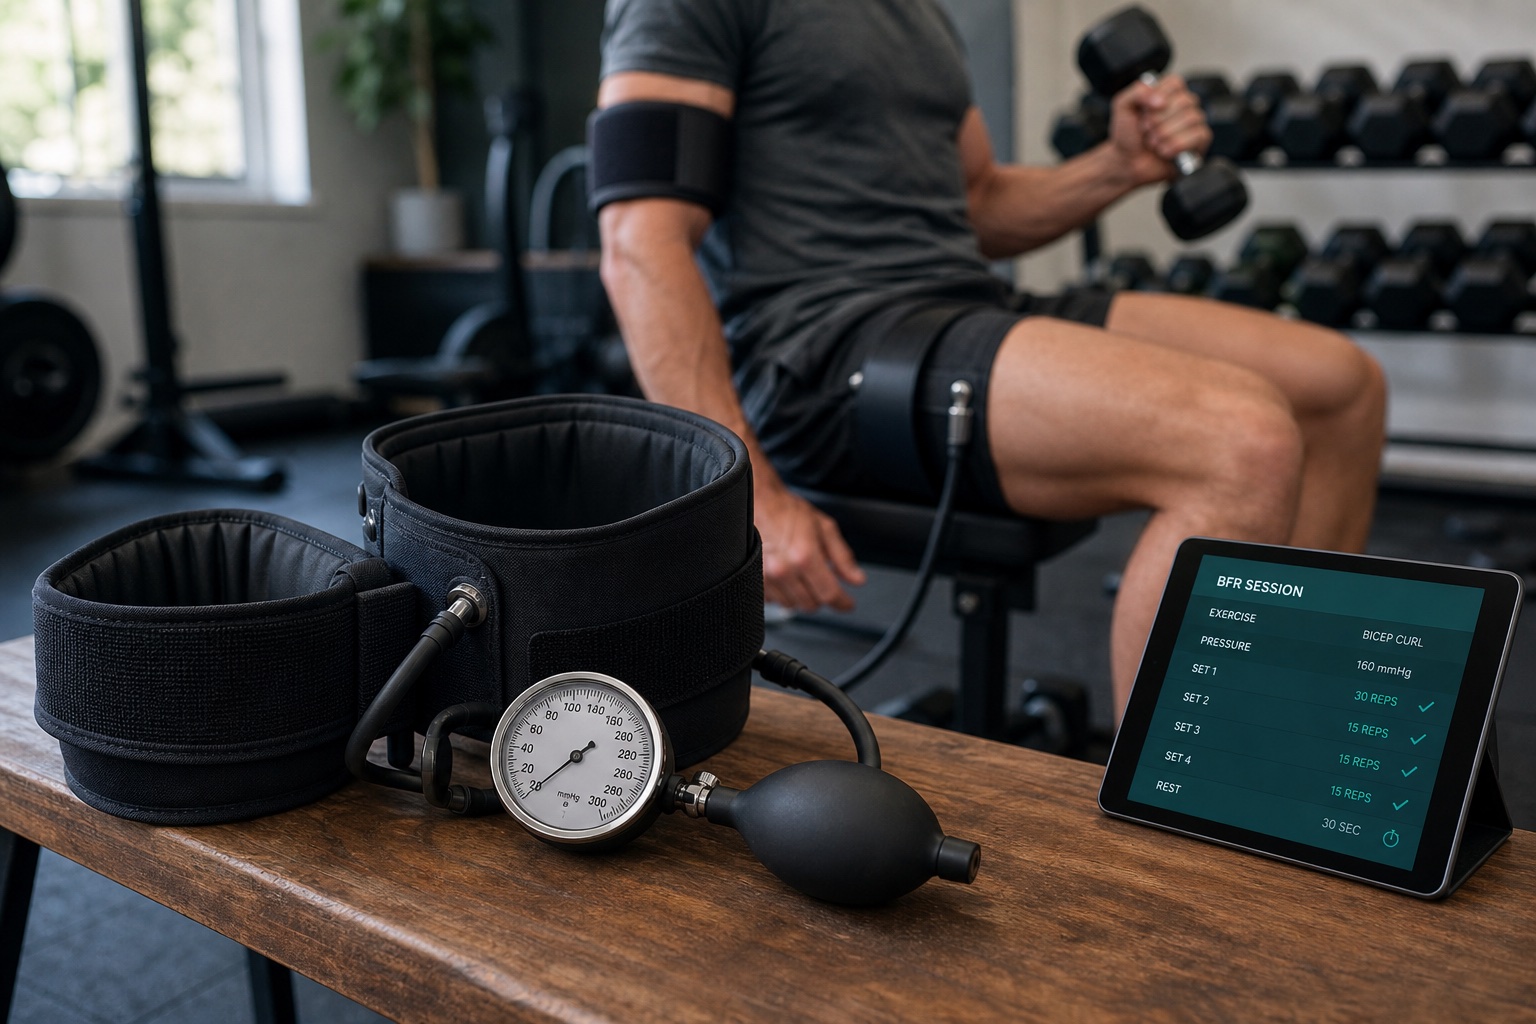
A home performance lab still needs a stimulus. SelectTech-class adjustable bells are Stage 2 training hardware: measure with Camry/H10/jump tools, get strong with progressive iron — without a four-figure subscription gym. Do not buy cameras and plates while skipping hard sets. Adaptation needs load. Pair with a written program. Hardware without progression is furniture. Choose SelectTech for no-subscription strength. Upgrade to smart cables only for clear friction wins.
Estimated ownership: about $439 in year 1 and
$459 over 3 years.
Hardware only. The lab’s training backbone before smart cables or cameras.
Vernier · Platform
Best for: Stage 3 advanced measurement: true ground-reaction force-time curves without a clinic lease
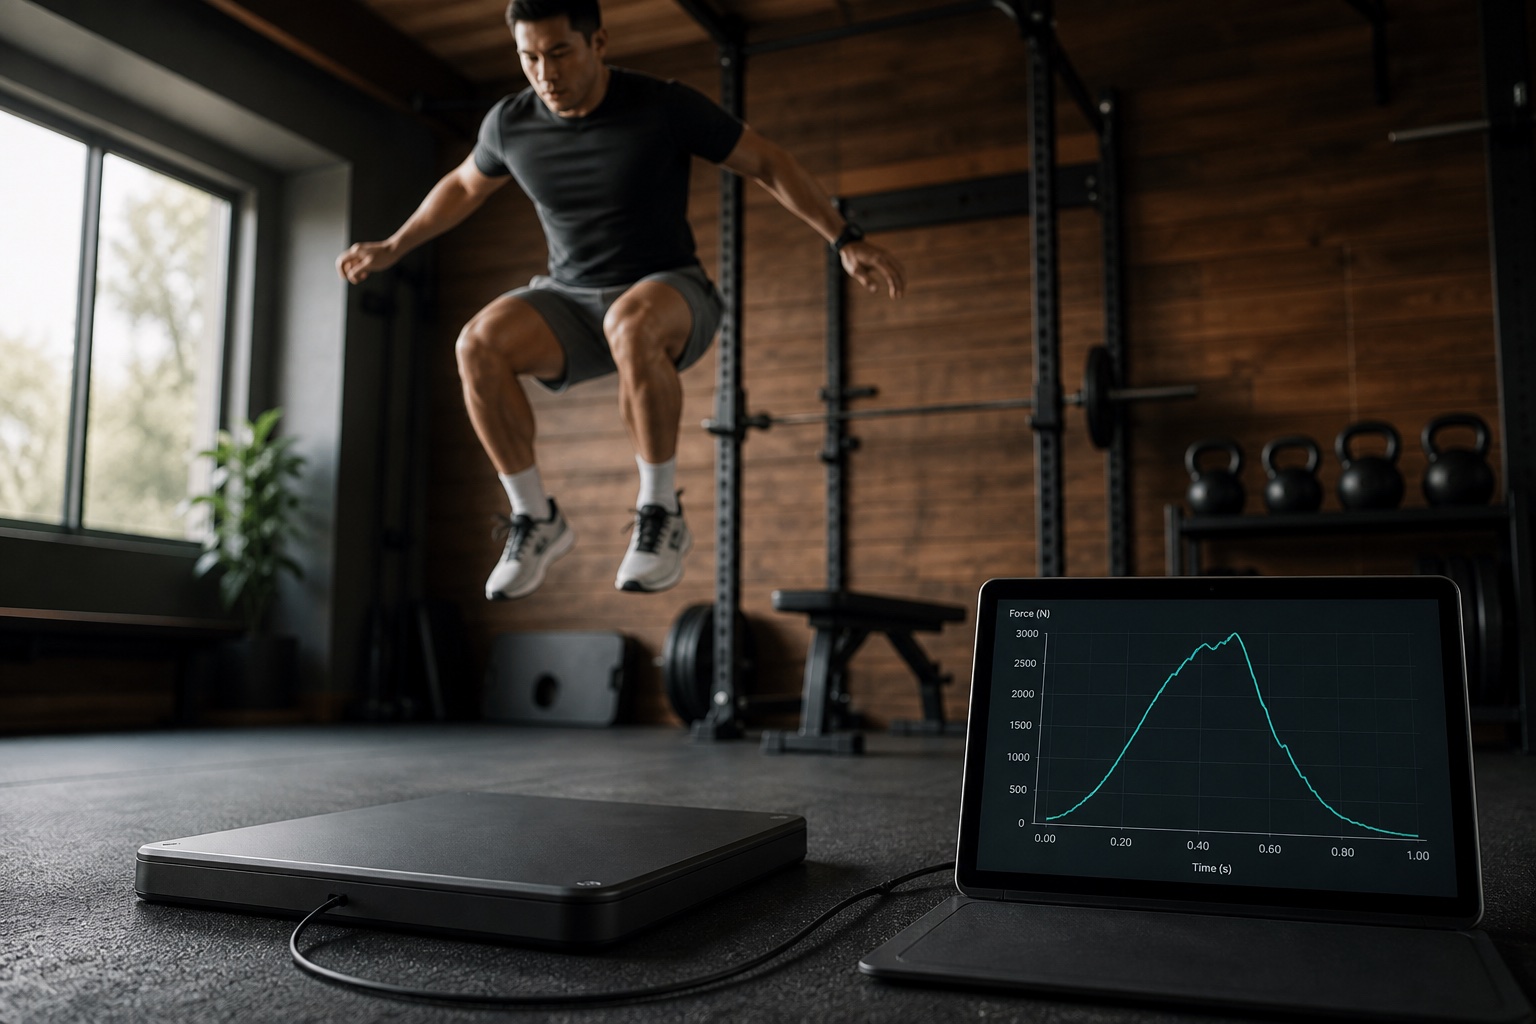
Stage 3 is force: a Vernier-class plate when jump height is no longer enough and you want impulse, peak force, and landing mechanics. This is an advanced lab purchase — not a beginner upgrade. If you skip weeks of CMJ testing on a mat, you will skip weeks on a $1k plate too. Single-plate asymmetry work needs careful protocols versus dual commercial systems. Choose Vernier when force curves change coaching decisions. Keep Just Jump if height trends already suffice.
Estimated ownership: about $1,149 in year 1 and
$1,249 over 3 years.
Hardware plus optional Graphical Analysis Pro. Buy only after Stage 1–2 habits stick.
Perform Better / Just Jump · Mat
Best for: Stage 2 neuromuscular monitoring: fast CMJ height and reactive jump trends
Stage 2 adds a contact mat when you need weekly jump height or RSI-style checks without leasing dual force plates. Buy it after grip + HR are habitual — not as your first toy. Contact mats answer “did jump output change?” Force plates answer “why did the curve change?” Use the same warm-up and arm swing rules every test day. Choose Just Jump for fast field testing. Escalate to Vernier when you need true GRF curves.
Estimated ownership: about $670 in year 1 and
$700 over 3 years.
Hardware only. Known to overestimate jump height vs force platforms — track your own trends.
Tempo · Sensor
Best for: Stage 3 coaching layer: AI form cues on free weights you already own
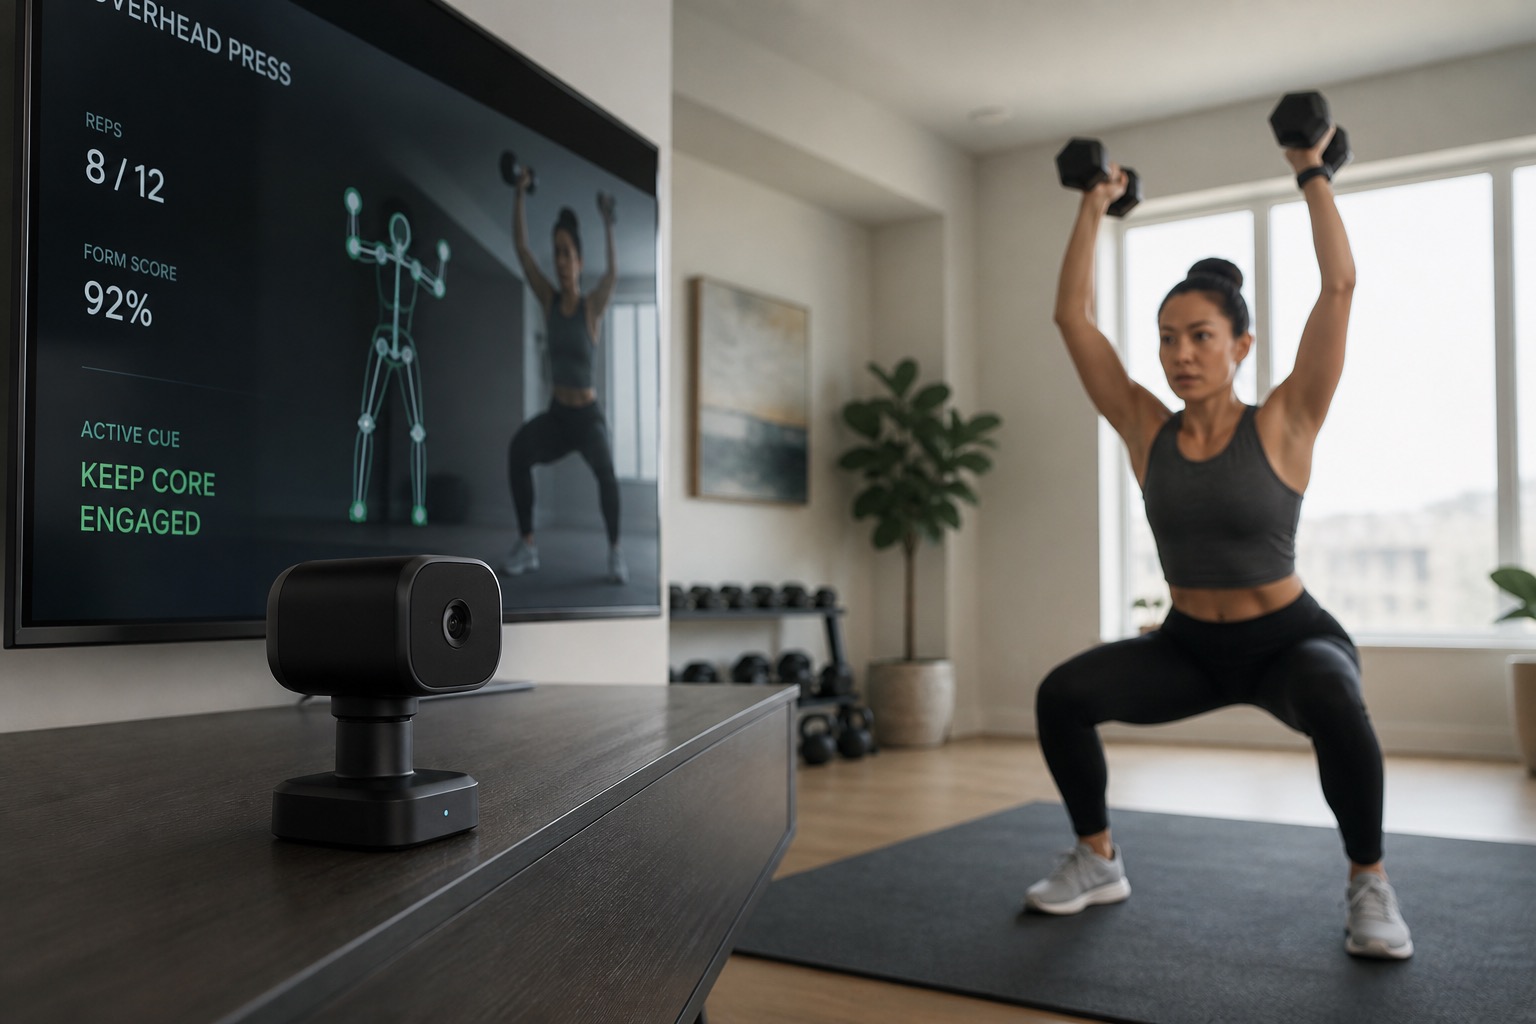
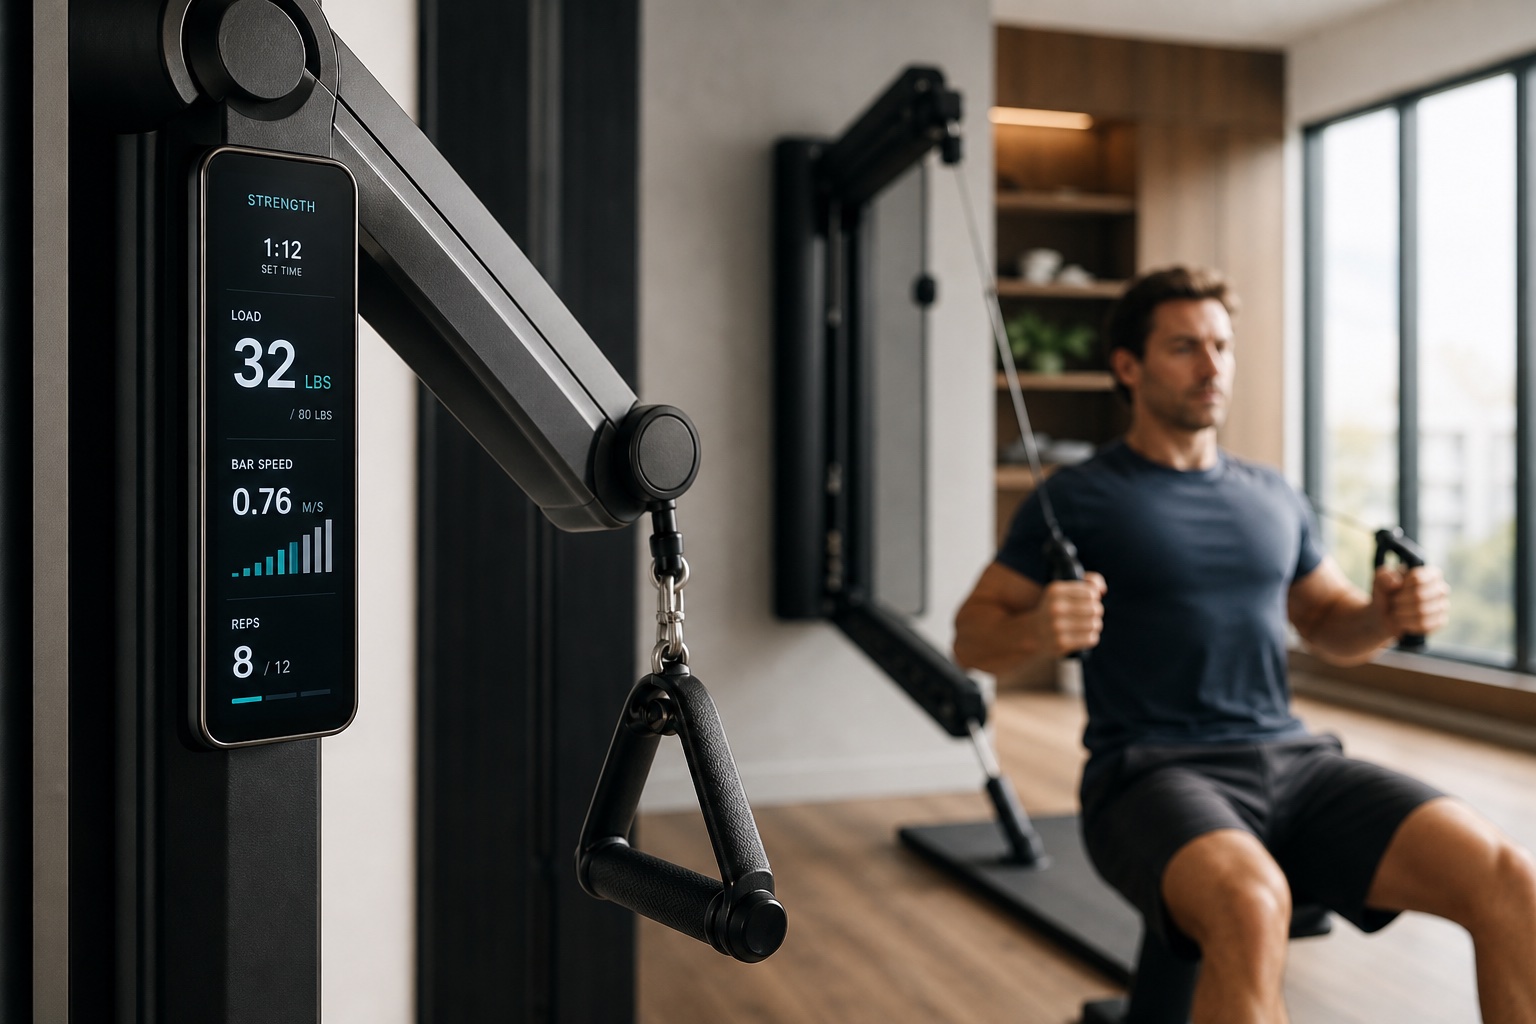
Stage 3 coaching is optional: Tempo Move-class form AI helps when cues and adherence are the bottleneck. Buy it after you already train and measure — not instead of grip, HR, and progressive load. Form cameras do not create progressive overload. SelectTech (or a rack) still matters. Treat cues as coaching aids with known markerless limits. Choose Tempo Move when you own weights and want live form help. Skip it if programming-only AI or a phone video checklist is enough.
Estimated ownership: about $963 in year 1 and
$1,899 over 3 years.
Sensor plus membership. Price three years before treating this as “just a camera.”
Detailed reviews
Camry EH101 (Stage 1)
Pros
Cons
Choose this if
Skip this if
Polar H10 (Stage 1)
Pros
Cons
Choose this if
Skip this if
Bowflex SelectTech 552 (Stage 2)
Pros
Cons
Choose this if
Skip this if
Vernier Go Direct Force Plate (Stage 3)
Pros
Cons
Choose this if
Skip this if
Just Jump System (Stage 2)
Pros
Cons
Choose this if
Skip this if
Tempo Move (Stage 3)
Pros
Cons
Choose this if
Skip this if
How to build the lab without buying everything
- Write Stage 1 protocols. Grip monthly; HRV/HR under stable conditions.
- Train progressively. Add adjustable bells or a rack before advanced sensors if stimulus is missing.
- Add jump testing when ready. Weekly CMJ only if you will deload/adjust from the trend.
- Upgrade to force curves last. Buy plates when “how high?” is no longer enough.
- Consider form AI optionally. Only if cues/adherence are the real bottleneck.
- Link out for depth. Use the dedicated Keersa guides for force plates, HRV, grip, smart resistance, and form cameras when you are ready to specialize.
Quick recommendations by stage
- Stage 1 start this month: Camry EH101 + Polar H10
- Stage 2 next: Just Jump + SelectTech 552 (or equivalent iron)
- Stage 3 advanced: Vernier force plate
- Stage 3 optional: Tempo Move
No. Start with grip and a consistent HR/HRV workflow. Add jump testing when those habits stick. Buy a force plate only when height/RSI trends are no longer enough to make decisions. A digital grip dynamometer, an ECG chest strap, a notebook or simple spreadsheet, and a written testing protocol. That already beats an unused four-figure sensor stack. If you are not training progressively, buy adjustable bells (or a rack) before advanced sensors. A lab without a stimulus is just an expensive dashboard. Grip monthly (or quarterly) is enough for many adults. Jump and HRV work better as near-weekly or near-daily trends with stable conditions. More frequent testing only helps if it changes training decisions. Phone estimates can be a temporary stopgap. Dedicated contact mats and force plates are more trustworthy for serious monitoring — especially if you coach others or track small performance changes. Stage 3, optionally — after you already lift and measure. Cameras help cues and adherence; they do not replace progressive overload or biomarker protocols.Building a home performance lab FAQ
Do I need a force plate to start a home lab in 2026?
+
What is the minimum useful Stage 1 kit?
+
Should I buy measurement tools or training hardware first?
+
How often should I test?
+
Can phone apps replace contact mats and force plates?
+
When do form-feedback cameras belong in the lab?
+
This comparison is designed for practical decision-making. Product capabilities, pricing, and memberships change quickly, so treat battery claims, plan costs, and feature availability as moving targets.
Why a cheap grip dynamometer belongs in Stage 1 of a home lab — population-scale links between grip and mortality risk. Protocol first: seating, elbow position, handle span, and trials matter more than buying a fancier meter. Practical framing for HR/HRV monitoring choices and why measurement conditions beat dashboard mythology. Applied sports use of HRV trends for training decisions — the readiness layer of a home lab. Why advancing from jump height to force-time curves changes what you can coach and monitor. Contact mats are useful and reliable enough for trends — with known bias versus force platforms. Connected prescriptions can help people complete strength work — the adherence case for coaching layers after measurement basics. Supports monitoring neuromuscular status with jump metrics beyond a single height number.
Affiliate disclosure: some product links on Keersa Health may earn a commission at no extra cost to you.
Editorial recommendations are independent of commercial relationships.
Read our full disclosure.
Sources and editorial notes
Bottom line
A home performance lab is a habit system dressed as equipment. Start with grip and ECG-quality heart-rate tools, add jump testing and progressive strength when those habits stick, then graduate to force plates and form AI only when simpler signals are no longer enough. The best lab is the one whose instruments you actually use to make better training and health decisions.
Related: Grip Strength as a Health Biomarker, Force Plates for Everyday Athletes, Wearable HRV and Training Readiness, Smart Resistance Equipment, Form Feedback Cameras and AI Coaching, and GPS and Power Meters for Endurance.