Fitness & Mobility guide · Updated 2026
The Performance Protocol: What Actually Improves Training
An authoritative 2026 overview of how to improve training — progressive stimulus, readiness signals, measurement tools, and specialty gear — plus a practical order of operations before you buy fitness tech.
Performance protocols are everywhere in 2026 — shared by people buying sensors first, coaches stacking dashboards, and readers who want an order of operations before another product page. This is the Keersa Health overview for Fitness & Mobility: what actually improves training quality, which levers to pull first, and when it is worth opening our deeper comparisons on force plates, HRV, grip, smart resistance, form cameras, and the rest.
Key takeaways
- Training is a system: progressive stimulus + recovery + measurement that changes decisions + health status.
- Order of operations beats gadget stacking: program and consistency first, then cheap biomarkers/readiness, then jump/force tools, then specialty gear.
- A stimulus you will use outperforms a four-figure sensor you test twice.
- Grip and HR/HRV are high-ROI Stage 1 signals when protocols stay consistent.
- Force plates and form AI help specific failure modes — they are not beginner requirements.
- Red flags need clinicians, not another cuff, camera, or vibration plate.
How training actually improves (short version)
Three jobs do most of the work:
- Stimulus — hard enough, often enough, progressive enough sessions.
- Recovery context — sleep, stress, and readiness so you can absorb the work.
- Feedback — a few metrics that change load, volume, or technique decisions.
Fitness technology is useful when it improves one of those jobs. It is noise when it only adds charts. You do not need a university biomechanics bay to get stronger, more mobile, or more durable — but a clear map keeps purchases honest.
What “good training tech” looks like in practice
- You train more consistently because friction dropped
- You adjust intensity from a signal you trust
- You catch useful trends (jump output, grip, HRV) without orthosomnia
- You skip tools that never change next week’s plan
The order of operations
Buy less at the start. Change the defaults that run every week.
- Follow a progressive program. Written progression beats shopping.
- Own a stimulus path. Free weights, adjustable bells, or a smart gym you will actually use.
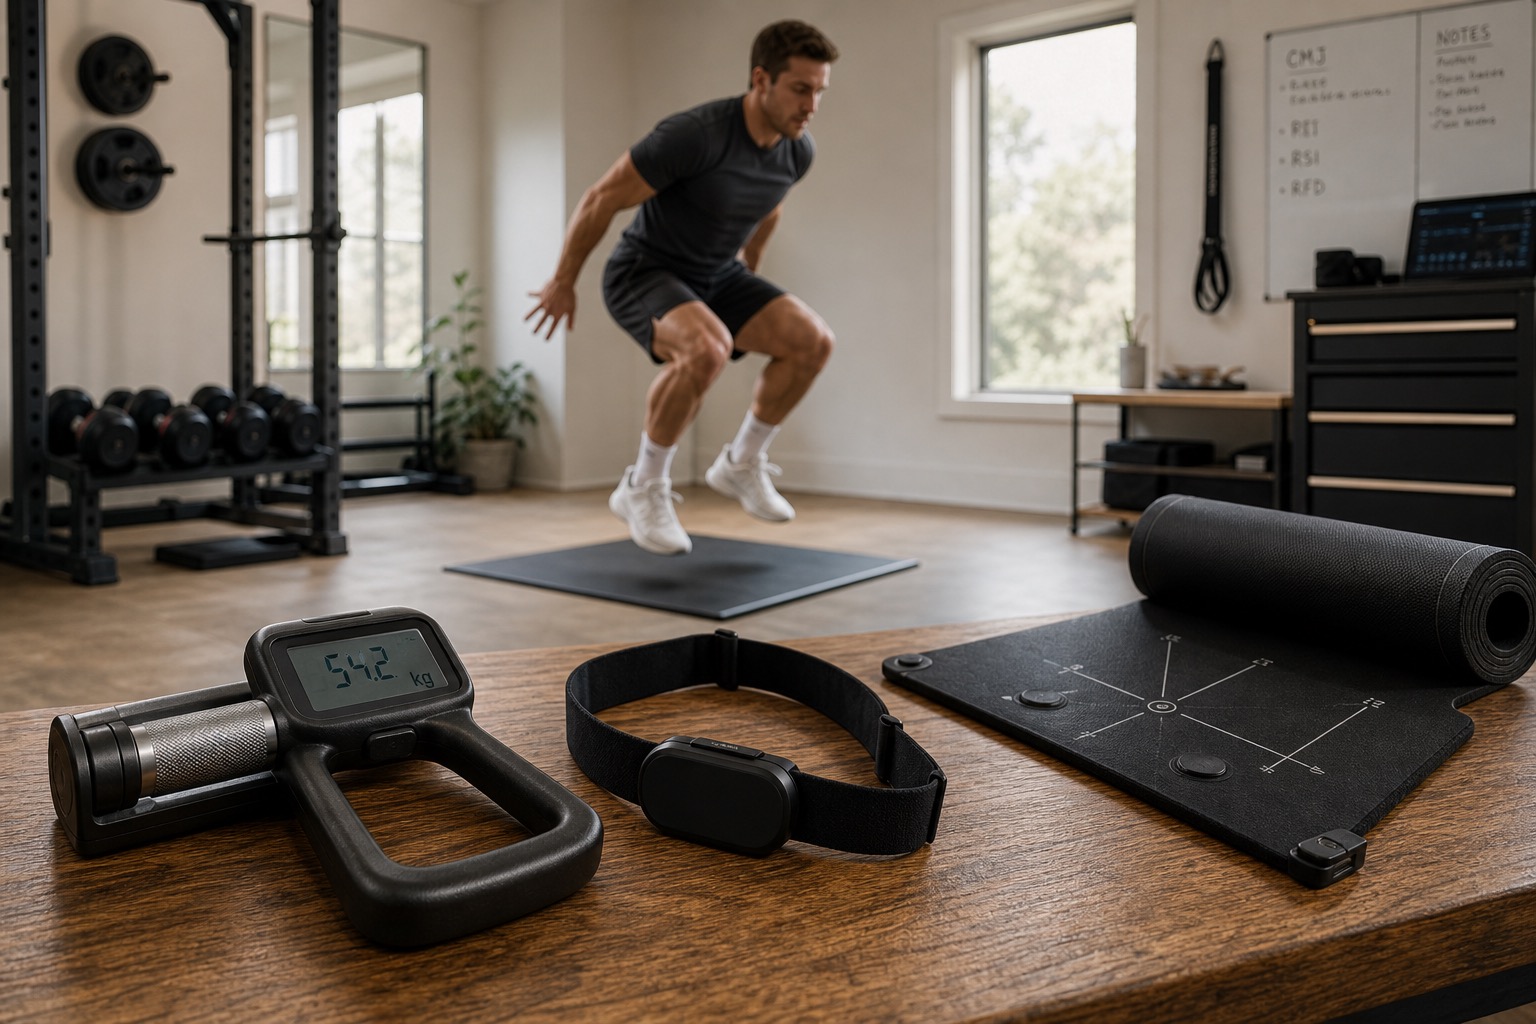
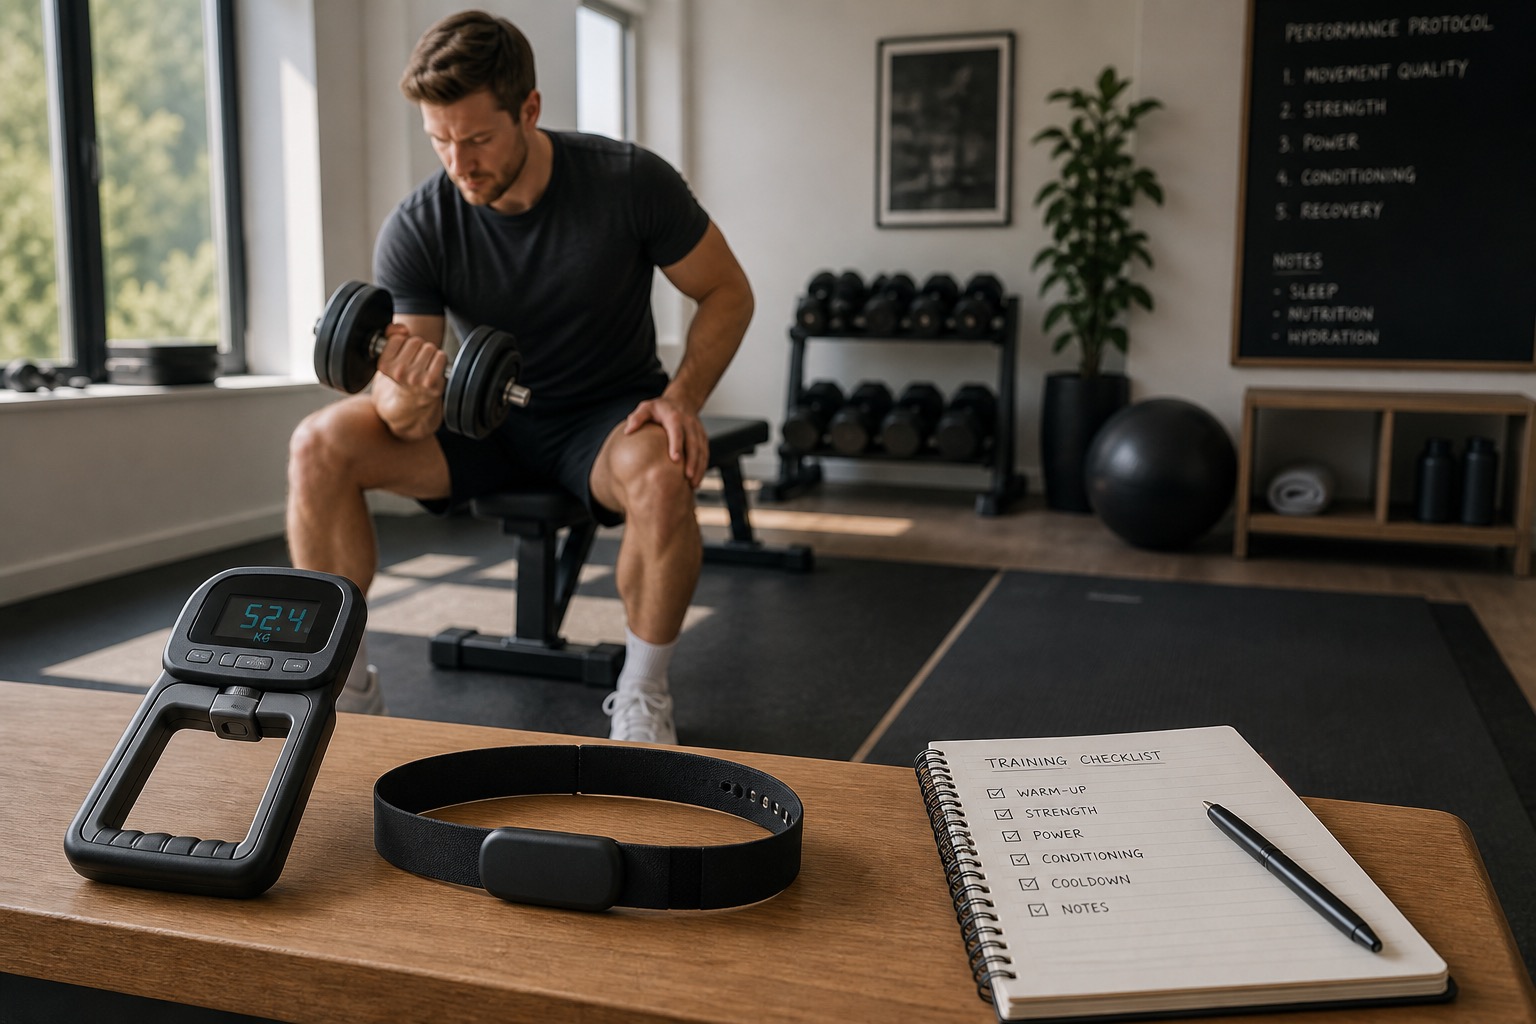
- Add Stage 1 measurement. Grip dynamometer and/or ECG-quality HR/HRV with a boring protocol.
- Add mobility tools you will use weekly. Skip recovery theater.
- Add jump or pacing tools when decisions need them. Contact mats, GPS, or power meters for specific sports jobs.
- Escalate to force curves or form AI last. Advanced labs and cameras for remaining bottlenecks.
- Use specialty modalities on purpose. BFR, vibration, and niche toys for clear use cases — not FOMO.
Stimulus and strength hardware
If you are not getting progressive tension into muscle and tendon, no readiness score will save the program. Start with equipment that lowers friction for hard sessions.
When you want product-level detail:
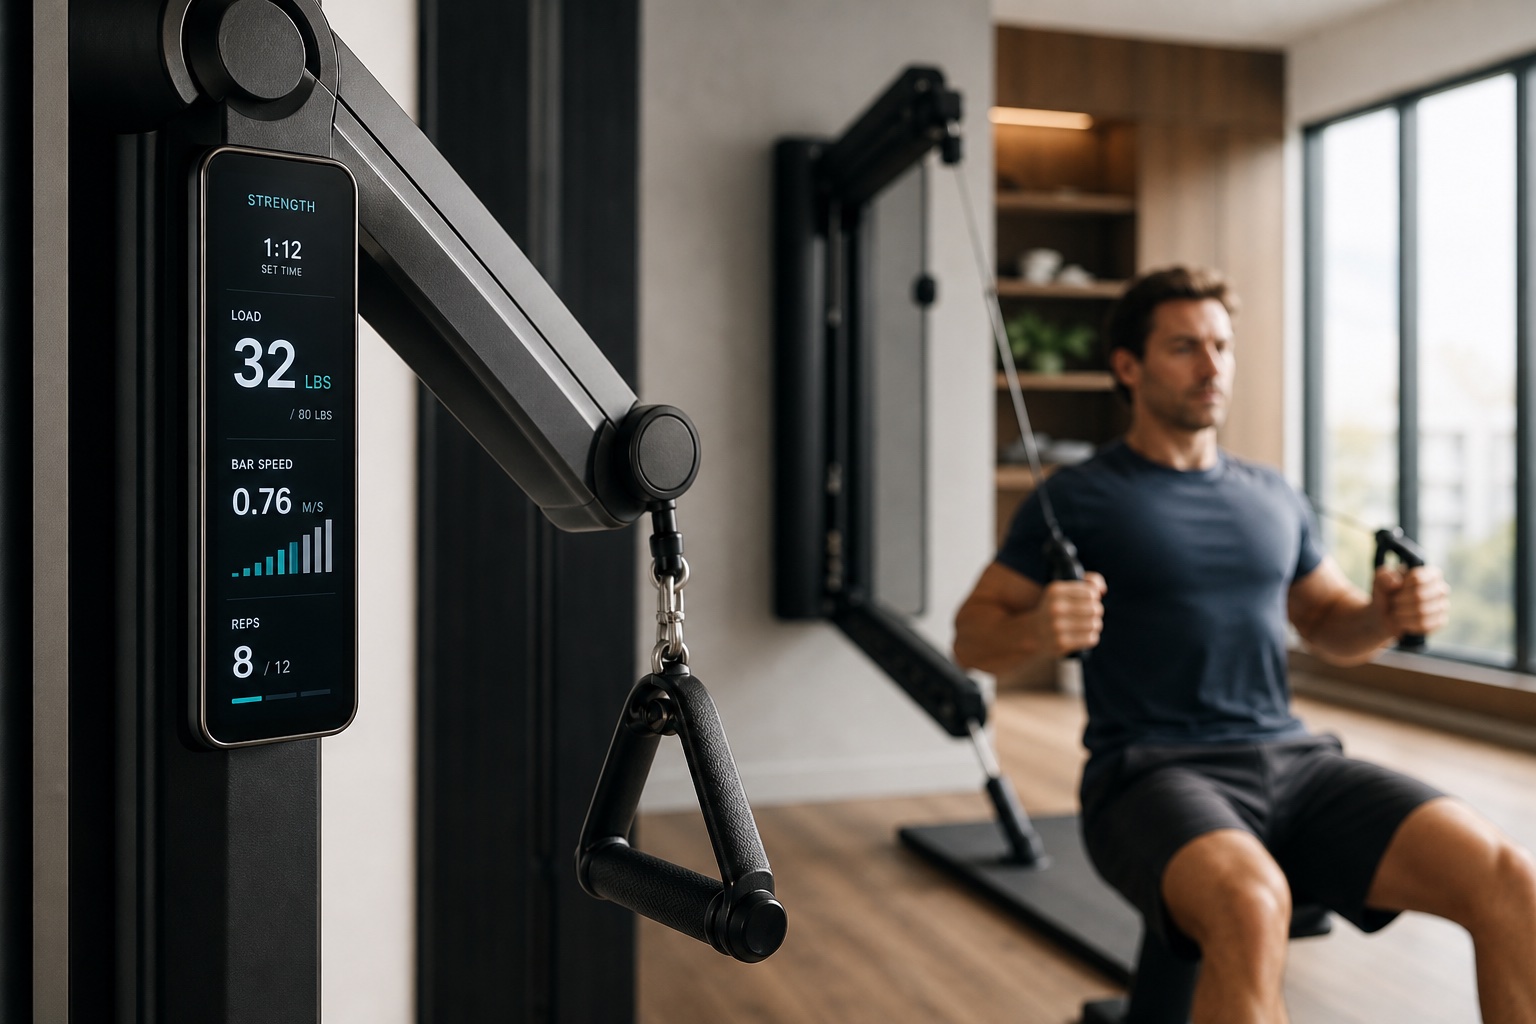
- Smart Resistance Equipment — digital cables, VBT-style feedback, adjustable bells, and membership math.
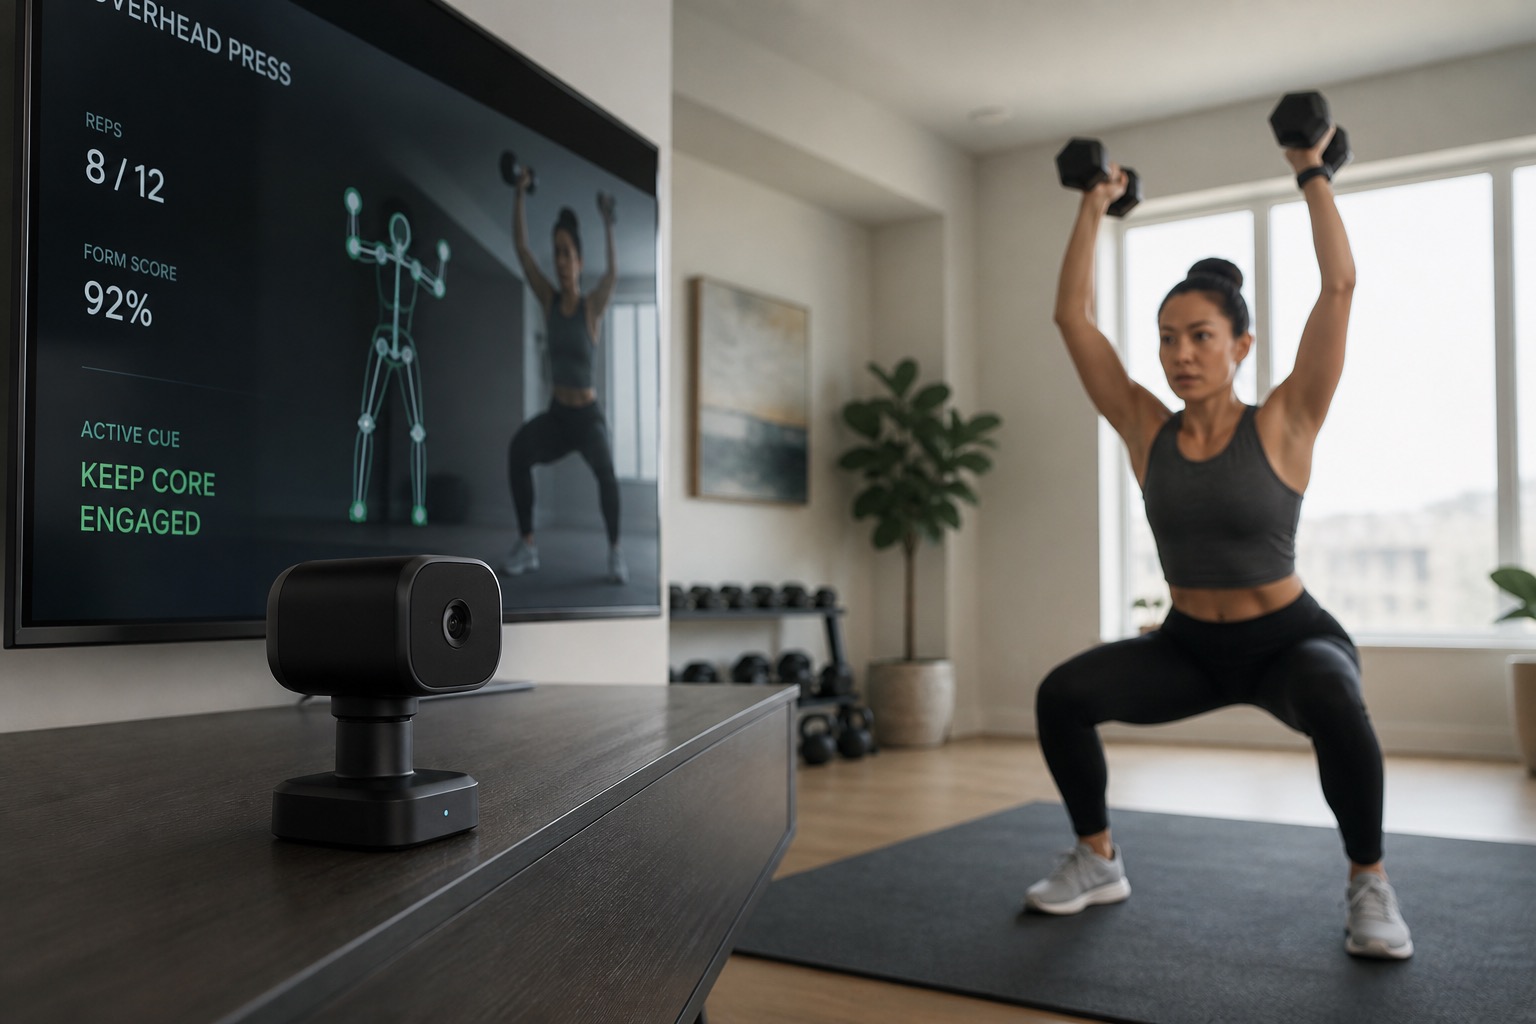
- Form Feedback Cameras and AI Coaching — depth vs RGB vs programming-only AI, with accuracy limits.
Practical rule: buy motors and cameras after you already train; do not buy them instead of training.
Readiness and biomarkers
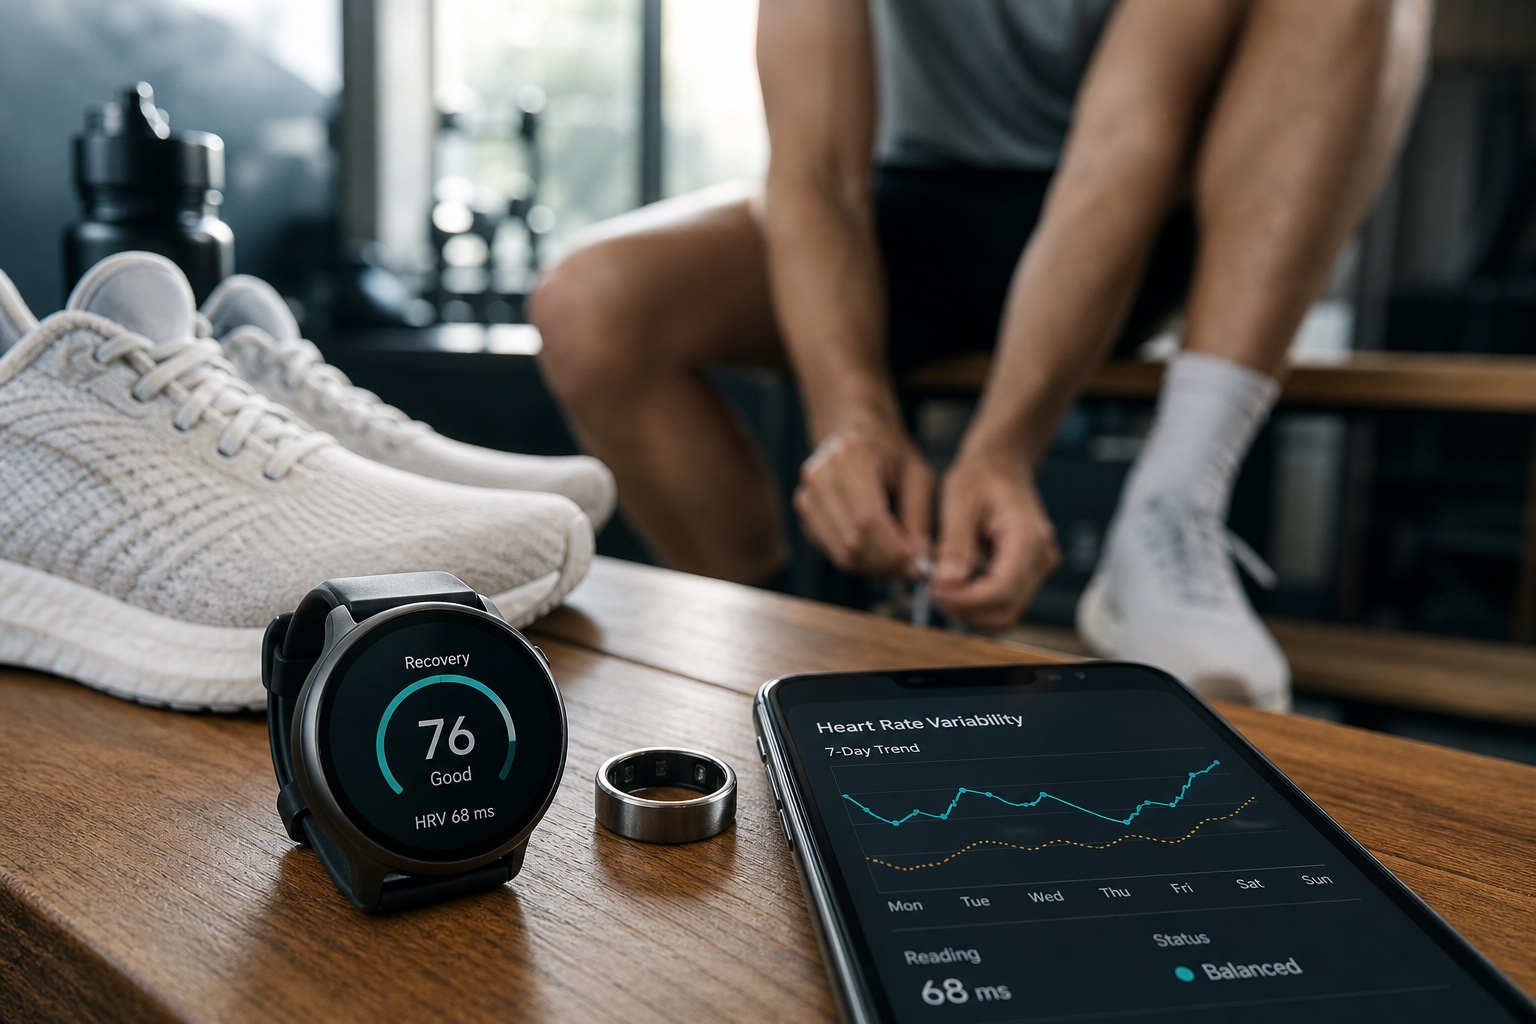
Cheap signals beat unused lab gear. Grip strength shows up in longevity research as a simple functional marker. Morning HR/HRV can inform push/deload choices when conditions are controlled.
Deep dives when you are ready:
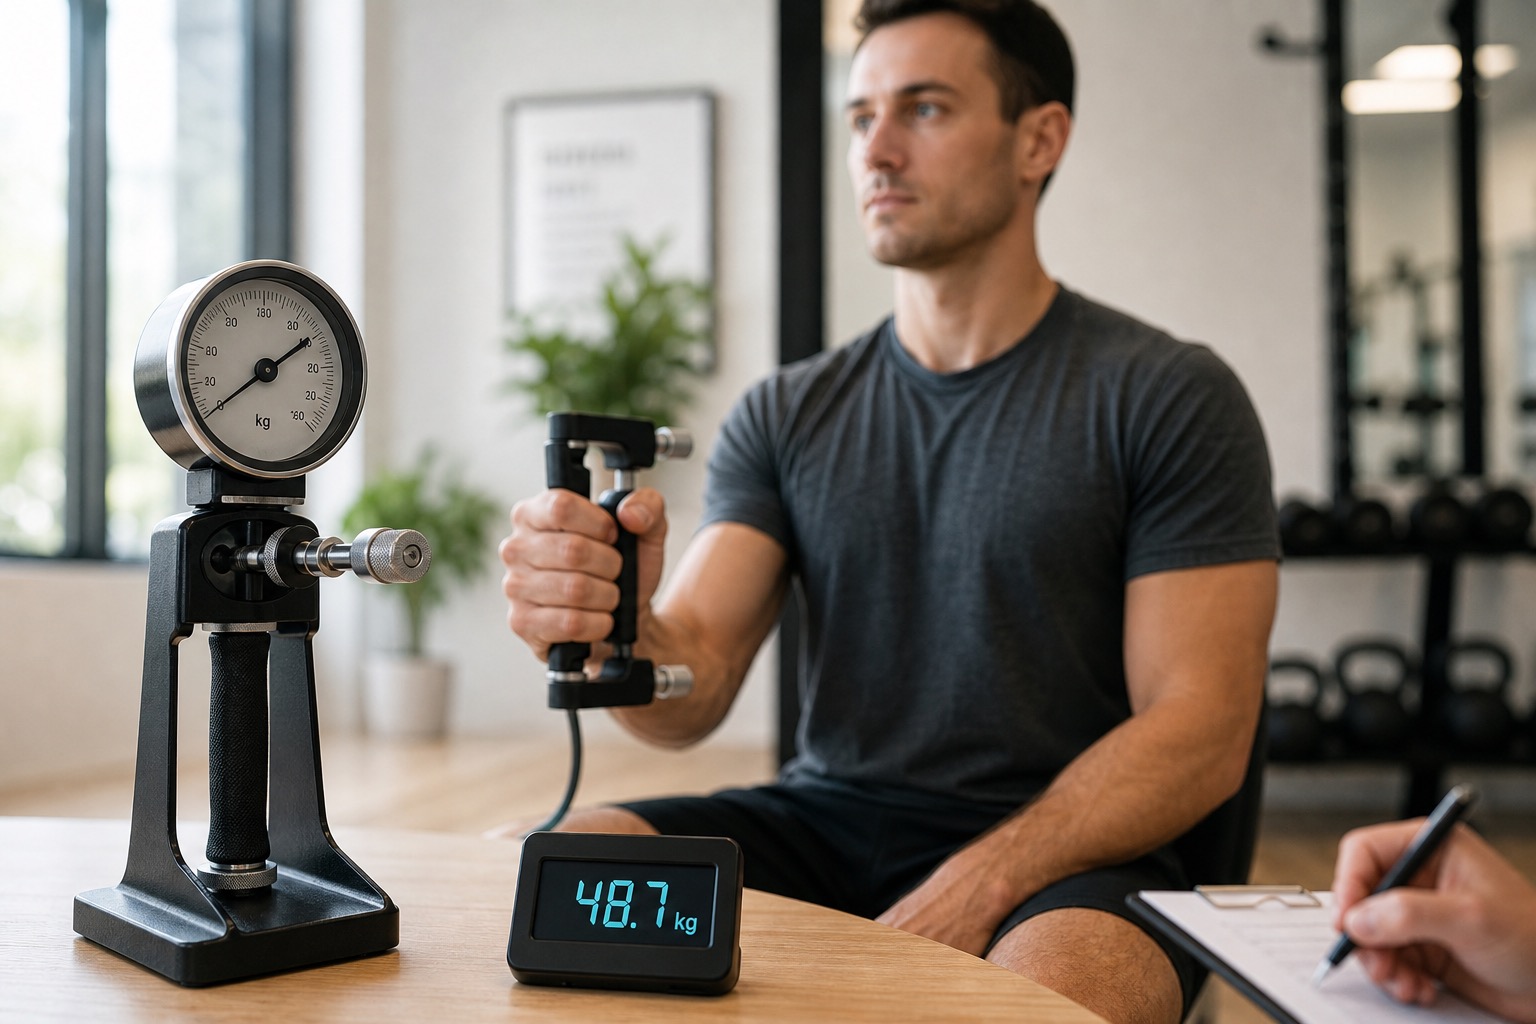
- Grip Strength as a Health Biomarker — Jamar vs Camry, norms, and home protocols.
- Wearable HRV and Training Readiness — rings, watches, chest straps, and what readiness scores can and cannot claim.
Output and neuromuscular monitoring
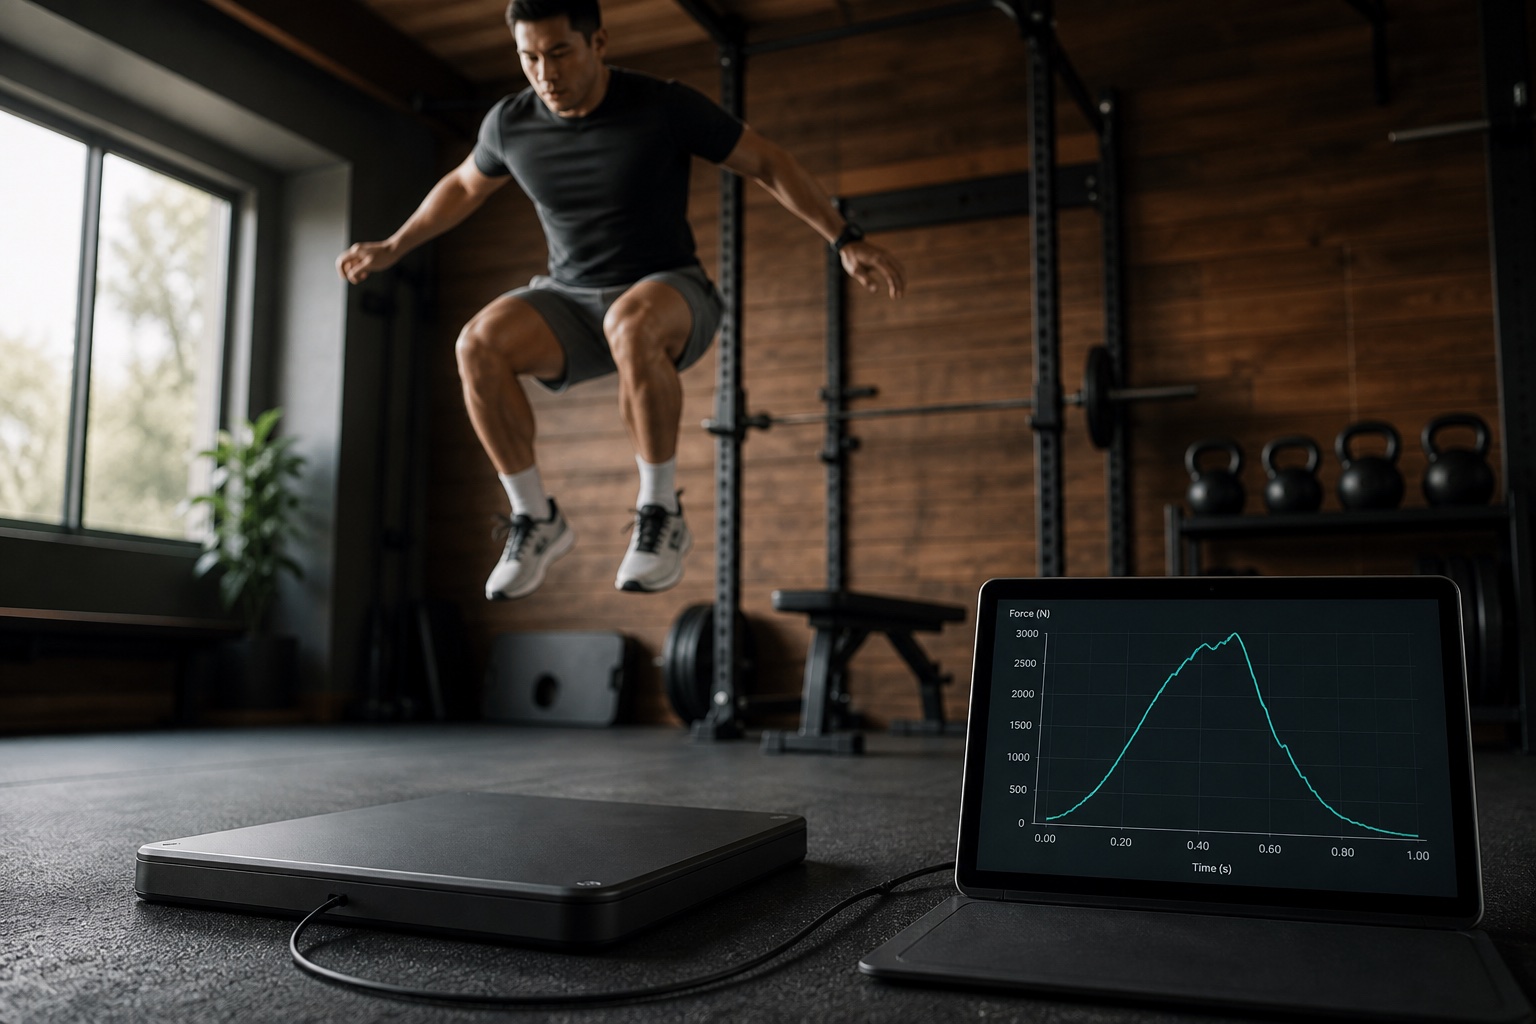
When “did I get better?” needs a number beyond the bar, jump and force tools enter. Contact mats answer height/RSI trends quickly. Force plates answer force-time questions when height is not enough.
Deep dives:
- Force Plates for Everyday Athletes — education plates vs jump mats, and how to use curves without overcomplicating training.
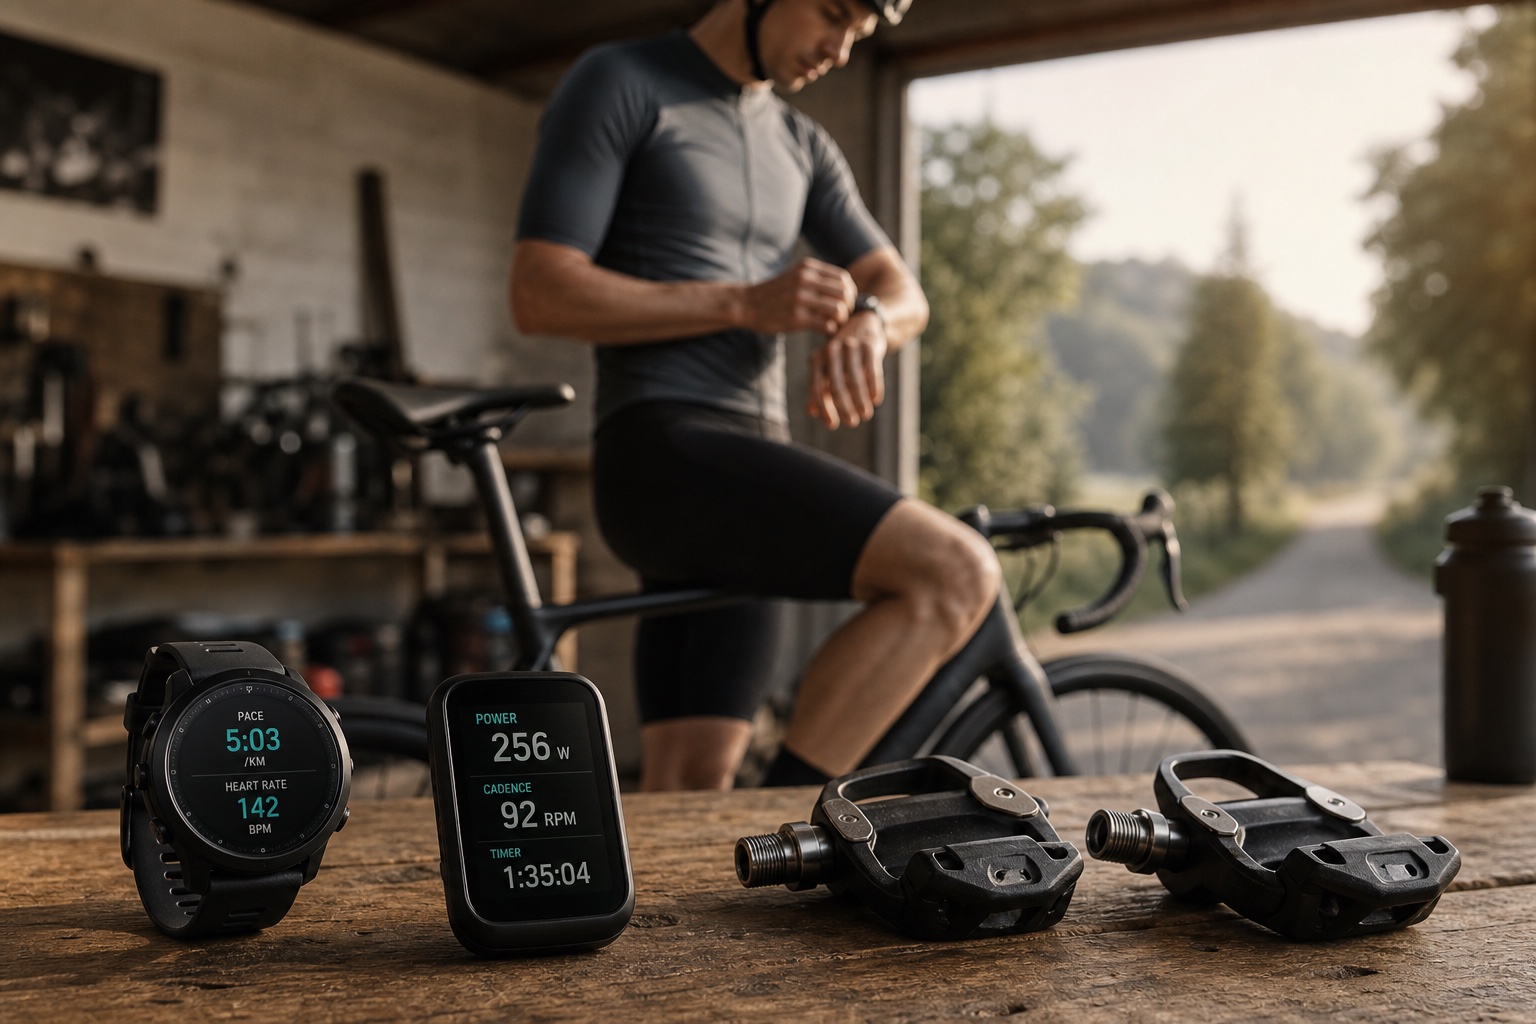
- GPS and Power Meters for Endurance — outdoor pace, bike watts, and running power when the sport demands it.
Specialty modalities
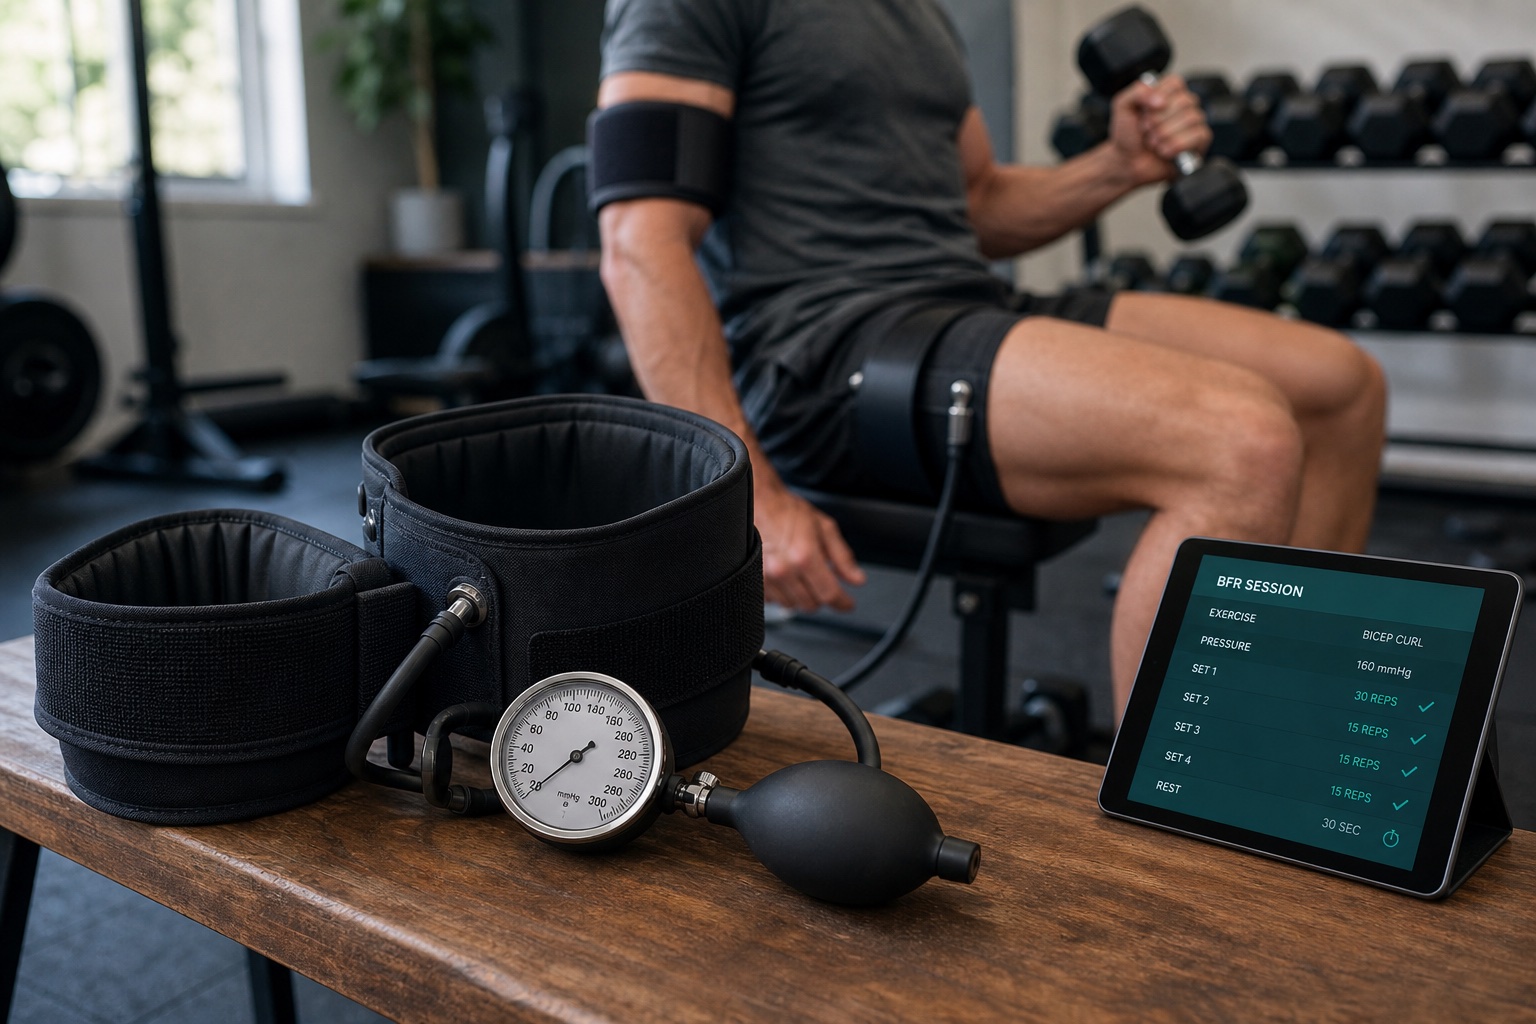
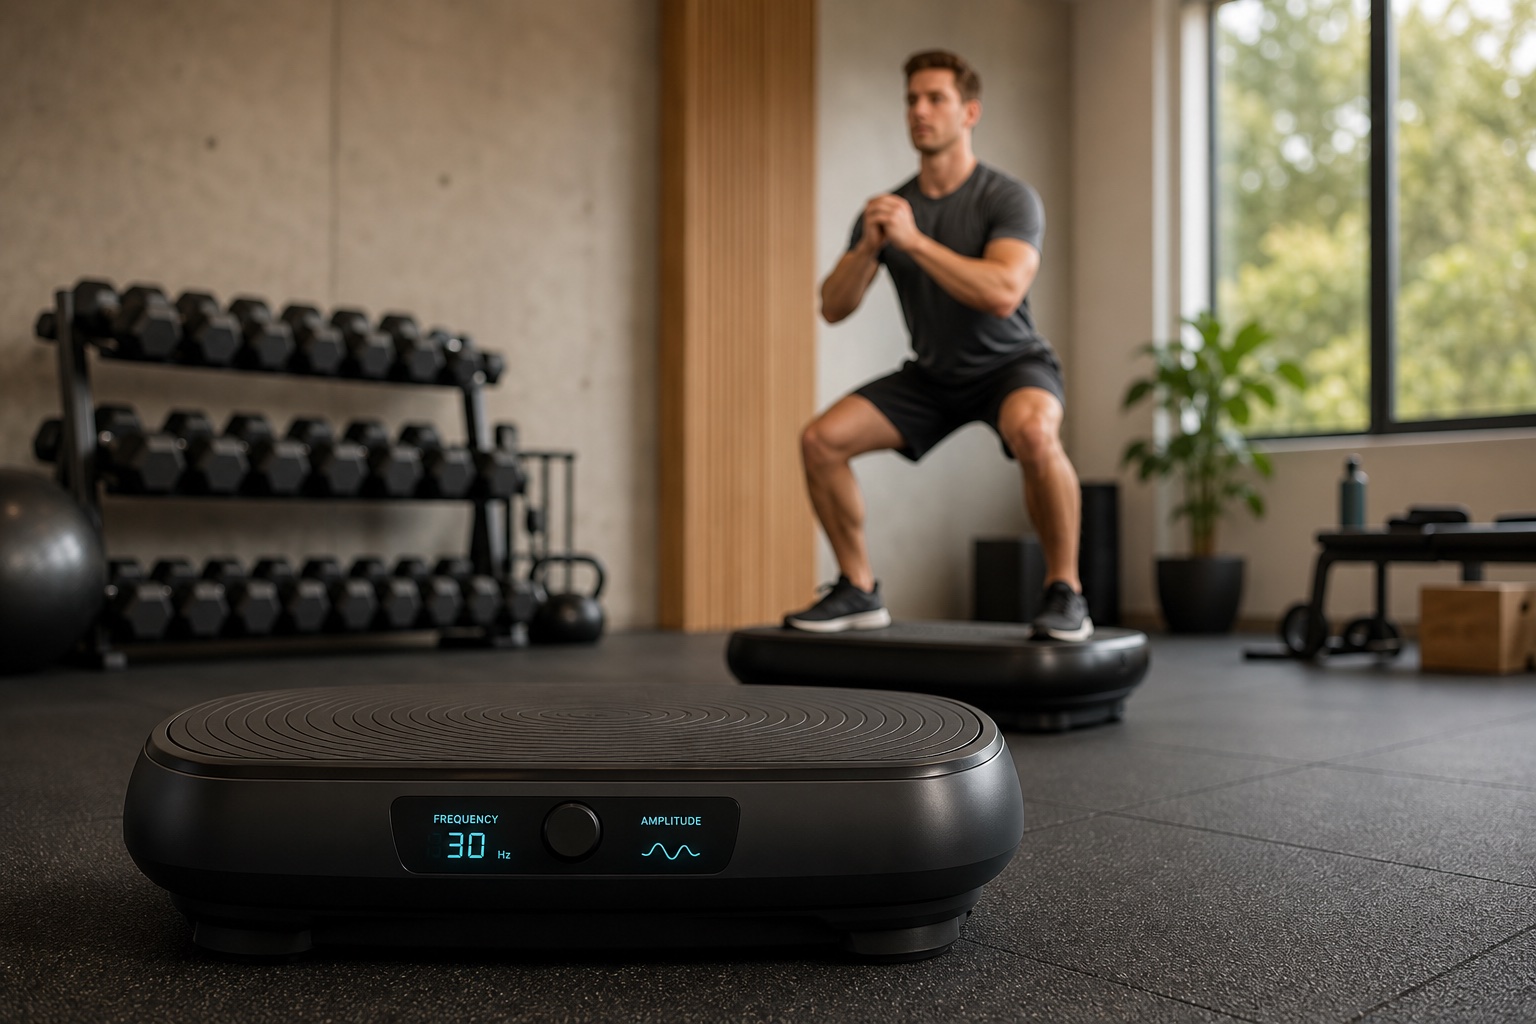
Some tools are excellent for a narrow job and terrible as a personality. Blood flow restriction can support light-load hypertrophy when cuffs and pressure are handled safely. Vibration platforms deliver a neuromuscular stimulus with very uneven consumer evidence. Mobility tools earn a place only if they get weekly use.
Open these when the use case is clear:
- Blood Flow Restriction Training Devices
- Vibration Platforms and Neuromuscular Stimulus
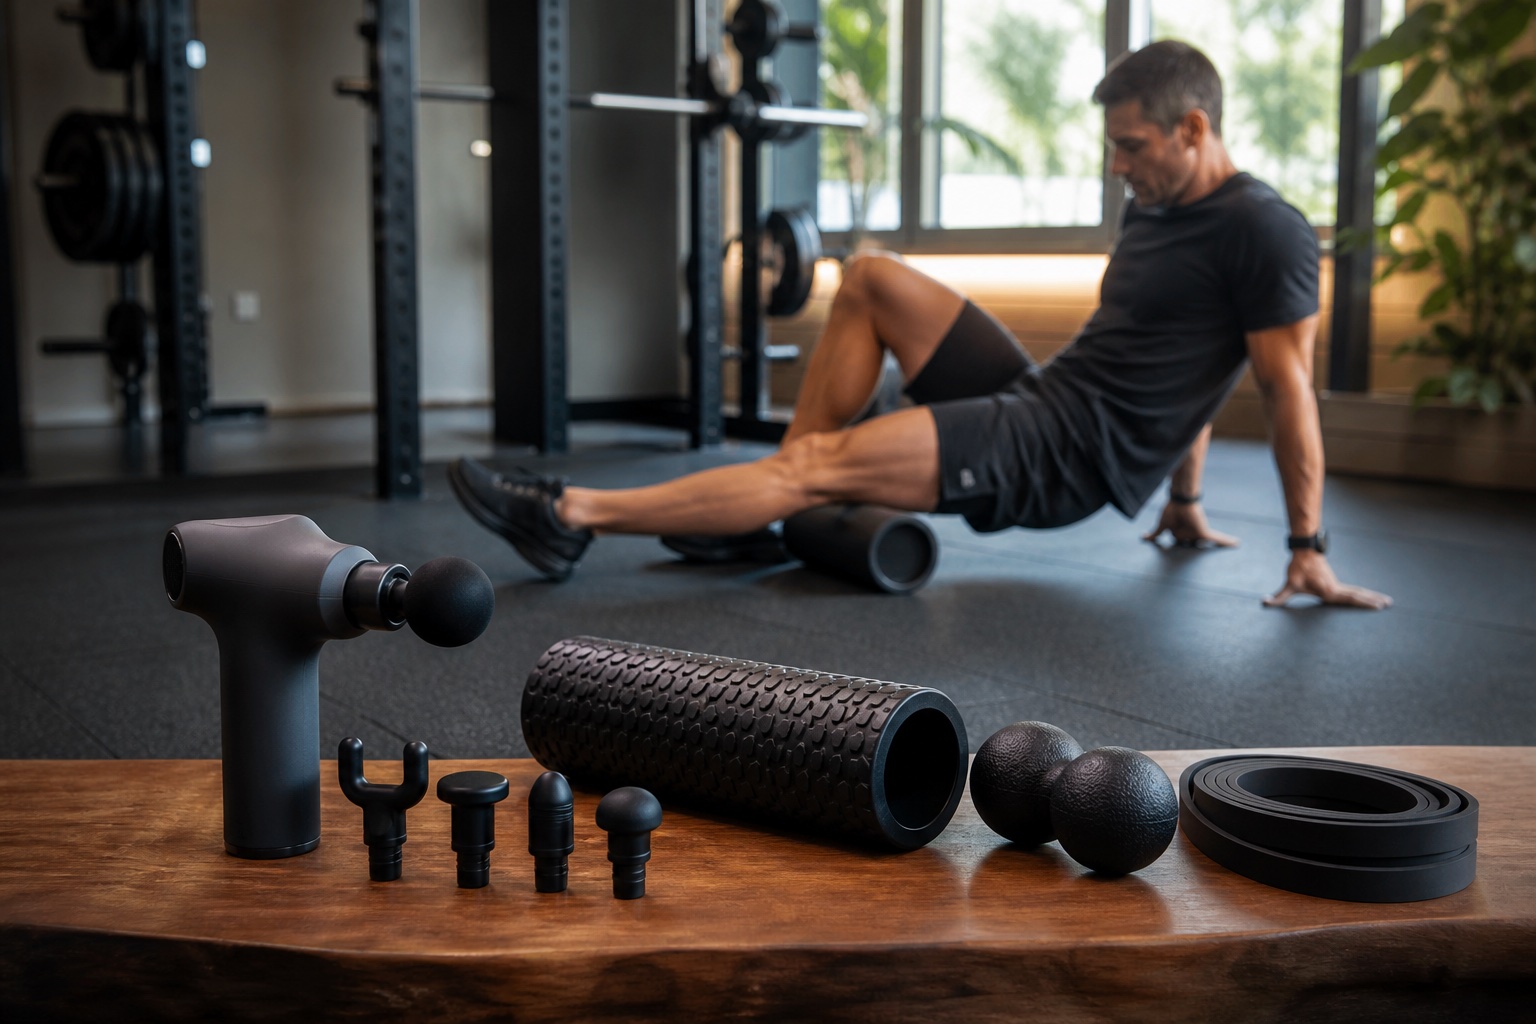
- Mobility Tools That Earn a Place
Build the lab in stages
A home performance lab is a habit system dressed as equipment. Do not recreate a university bay on day one.
- Building a Home Performance Lab — Stage 1 grip/HR, Stage 2 jump + strength stimulus, Stage 3 force plates and optional form AI.
Staging rule: buy the next instrument only after the last one changed a weekly decision for several weeks.
A simple weekly protocol
- Most training days: hit the written progressive session; log loads honestly.
- Most mornings (if using HRV): same timing, posture, and conditions.
- Monthly: grip test with a fixed dynamometer protocol.
- Weekly (if monitoring jumps): the same CMJ warm-up and rules every time.
- Once a week: pick one lever to adjust — volume, intensity, sleep, or a single metric — not five gadgets.
- Only then: consider force plates, form AI, BFR, or vibration for a remaining failure mode.
Where to go next
Use this page as the map. Use the deep dives when you already know which lever you are pulling:
- Home performance lab — staged shopping roadmap.
- Smart resistance — connected strength systems and membership math.
- Form feedback cameras — markerless coaching with accuracy limits.
- Grip strength — dynamometers and biomarker context.
- Wearable HRV — readiness without orthosomnia.
- Force plates — jump and GRF tools for everyday athletes.
- GPS and power meters — endurance pacing signals.
- Blood flow restriction — light-load hypertrophy tools.
- Vibration platforms — honest stimulus ranges.
- Mobility tools — rollers, guns, and bands that earn weekly use.
Start with a written progressive program you will actually follow, sleep/stress basics, and one simple readiness or biomarker check (grip or HR/HRV). Add force plates, cameras, and specialty tools only after those defaults are stable. No. Progressive overload with iron or a sensible digital gym beats unused sensors. Measurement tools help when they change weekly decisions — not when they decorate the garage. As a readiness layer after you already train consistently. Morning HRV trends can inform push/deload choices when measurement conditions stay boringly consistent. Read our HRV guide when you want device-level detail. No. Large cohorts link grip to mortality and function risk. It is a cheap Stage 1 biomarker for a home lab — useful when protocol is standardized, not when you chase one-off online percentiles. Seek care for unexplained weakness, joint trauma, chest pain with exertion, neurological symptoms, or pain that worsens despite sensible programming. Home protocols optimize training — they do not diagnose injury or disease. Stimulus first, then cheap biomarkers/readiness, then jump monitoring if needed, then advanced force or form tools, then niche modalities (BFR, vibration, GPS/power). Our home performance lab guide turns that into a staged shopping roadmap.Performance protocol FAQ
What should I fix first if my training feels stuck in 2026?
+
Do I need a force plate or AI camera to get stronger?
+
Where does HRV fit in a performance protocol?
+
Is grip strength just a gym bro metric?
+
When should I see a clinician instead of optimizing at home?
+
What is a sensible order for buying fitness technology?
+
This comparison is designed for practical decision-making. Product capabilities, pricing, and memberships change quickly, so treat battery claims, plan costs, and feature availability as moving targets.
Leong et al., “Prognostic value of grip strength…” (The Lancet, 2015)
Supports putting a cheap grip check early in a performance order of operations — population-scale health signal, not gadget theater.
Buchheit, “Monitoring training status with HR measures…” (Frontiers in Physiology, 2014)
Practical framing for HR/HRV monitoring: conditions and interpretation beat dashboard mythology. Why force-time analysis goes beyond jump height when you are ready for advanced monitoring.
Davies et al., “Effects of mHealth interventions to prescribe resistance training…” (IJBNPA, 2025)
Connected coaching can help adherence — useful context for smart resistance and form-feedback layers.
Keersa Health Fitness & Mobility category guides
Product comparisons linked from this overview; capabilities and pricing change — verify before purchase.
Affiliate disclosure: some product links on Keersa Health may earn a commission at no extra cost to you.
Editorial recommendations are independent of commercial relationships.
Read our full disclosure.
Sources and editorial notes
Bottom line
The best performance protocol is boring on purpose: progressive training, consistent recovery defaults, and a few metrics that change decisions. Technology helps when it reinforces those defaults — not when it replaces them. Start here, then open the comparison guides only for the specific problem you still need to solve.