Recovery guide · Updated 2026
Red Light Therapy: Mechanisms, Dose, and Real Use Cases
Wavelengths, irradiance, fluence, and the gap between cosmetic masks and clinically meaningful photobiomodulation — plus eleven panels, masks, belts, and mats that map each use case.
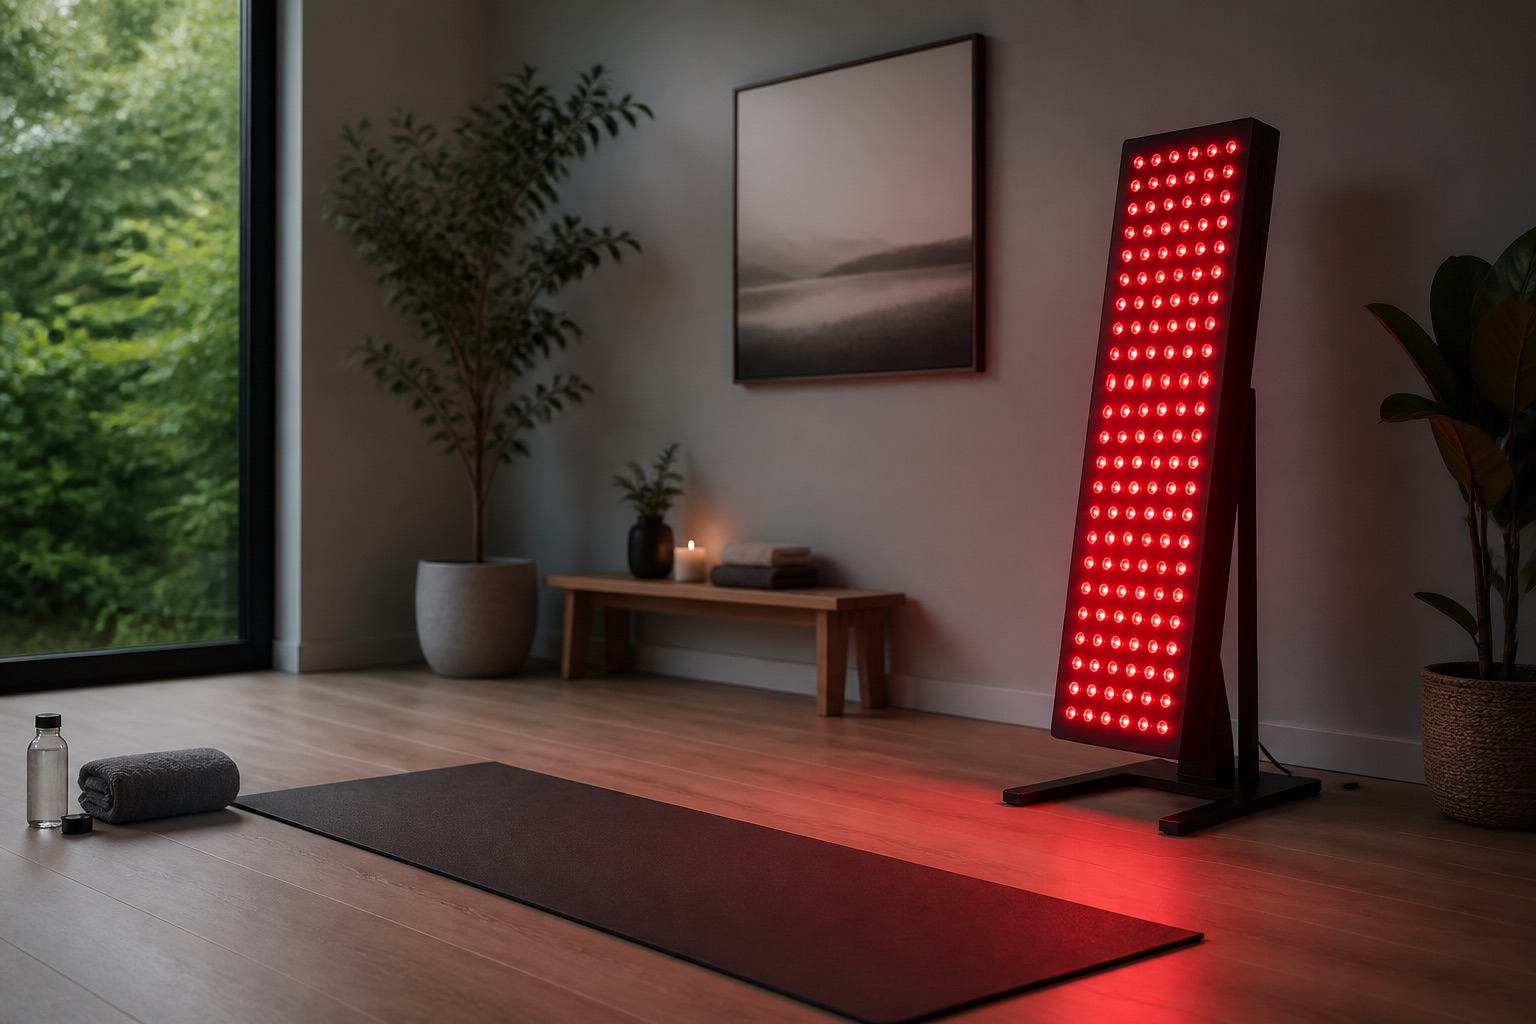
Red light therapy has a branding problem and a physics problem. The branding problem is that anything with a crimson LED gets labeled “mitochondrial hacking.” The physics problem is kinder: photobiomodulation (PBM) is a real research domain with wavelengths, irradiance, fluence, and messy human trials — it just refuses to reward people who buy the brightest rectangle and stare hopefully for ninety seconds.
This guide is the Recovery category opener: mechanisms, dose vocabulary, and use cases mapped onto eleven consumer form factors you can actually buy — panels, masks, belts, and mats — without pretending every red glow is clinically interchangeable. For the geometry narrative (including handhelds, bulbs, hair caps, and beds), see Red Light Therapy Form Factors.
Key takeaways
- Best dual-band starter panel: Hooga HG300.
- Best budget panel experiment: BestQool 50W Dual-Chip.
- Best multi-band mid panel: Hooga Quad-Chip (630/660/810/850).
- Best large stand-off coverage: MitoMEGA 2.0.
- Best premium cosmetic mask: CurrentBody Skin Series 2.
- Best budget cosmetic mask: INIA LED Face Mask.
- Best local contact wrap: Lifepro Allevared belt.
- Mechanism rule: chromophore + dose at the tissue ≠ wattage printed on the box.
- Biggest buying mistake: treating a facial mask, a desk panel, and a full-body mat as the same intervention.
How we evaluate red light devices
Editorial scores favor honest form-factor fit and usable dosing geometry — not the loudest “clinical grade” adjective. We score across five pillars:
- Wavelength honesty (25%) — red and NIR bands that match common PBM windows.
- Dose geometry (25%) — stand-off panel vs contact mask/belt/mat realism.
- Coverage for the job (20%) — face, local region, or large-area sessions.
- Adherence friction (15%) — timer, wearability, space, session boredom.
- Ownership cost (15%) — hardware versus what the use case actually needs.
Important limitation: Keersa Health scores are editorial synthesis. Device listings rarely publish third-party irradiance maps. Medical conditions need clinicians, not shopping carts.
Mechanism without the mystique
Hamblin’s mechanism reviews put the spotlight on mitochondria, especially cytochrome c oxidase in the electron transport chain. A leading hypothesis: certain red/NIR photons help dissociate inhibitory nitric oxide from the enzyme, restoring electron flow, nudging membrane potential and ATP, and kicking off redox signaling (ROS, NO, calcium cascades) that can look anti-inflammatory or regenerative downstream.
Two caveats keep the science honest:
- Context matters. Stressed cells and healthy cells can respond differently — PBM is not a universal “more ATP” dial.
- Parameters matter. Wavelength, irradiance, fluence, pulsing, and repetition interact. Parameter reviews show high variability and a biphasic dose pattern: miss the window and trials look like failures.
Vocabulary that actually matters
- Wavelength (nm) — consumer staples cluster around ~630–660 nm (red) and ~810–850 nm (NIR).
- Irradiance (mW/cm²) — power density at your skin for a stated distance.
- Fluence (J/cm²) — irradiance × time; the dose people should argue about.
- Geometry — stand-off panel vs contact mask/belt/mat changes everything about effective dose.
Interactive comparison
Filter by form factor, sort by score or price, and pin up to three options for a focused side-by-side view.
Tradeoff:
Sticker price still matters here — most options are one-time hardware buys, so the three-year estimate mainly reflects purchase price plus expected upkeep.
Estimates are directional and based on common public pricing patterns. Promotions, refurbished units, family plans, and tier changes can move these numbers materially.
3-year cost of ownership
Device
Year 1
3-year estimate
Amazon Price
Hooga HG300 Panel
$220
$245
$199
Mito Red Light MitoMEGA 2.0
$1,120
$1,180
$1,049
Hooga Quad-Chip Four-Wavelength Panel
$430
$460
$399
Mito Red Light MitoMID 2.0
$480
$510
$449
BestQool 160W Four-Wavelength Panel
$330
$360
$303
Mito Red Light MitoMIN 2.0
$275
$300
$249
CurrentBody Skin LED Mask Series 2
$470
$520
$449.95
Lifepro Allevared Red Light Belt
$120
$150
$99.99
Full-Body Red Light Therapy Mat
$740
$800
$699.99
BestQool 50W Dual-Chip Panel
$160
$185
$139
INIA LED Face Mask
$90
$110
$76.49
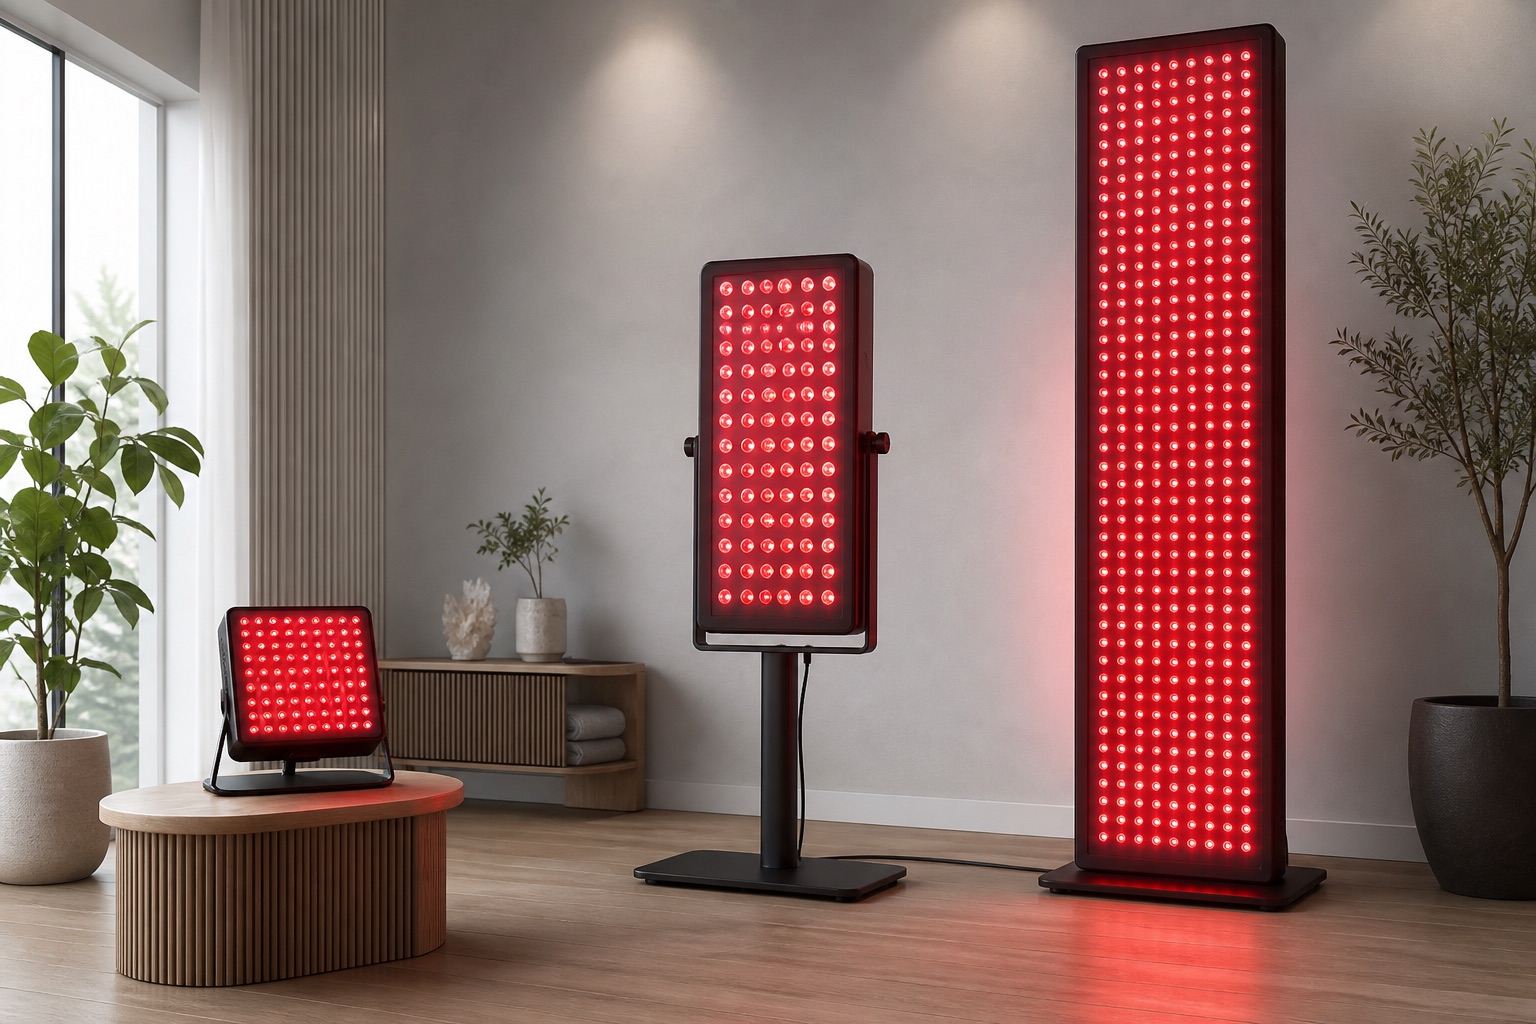
Geometry decides the dose. Stand-off panels need distance discipline. Masks fix facial distance for cosmetics. Belts contact a body stripe. Mats chase lie-down full-area coverage.Panel vs mask vs belt vs mat
Choose a dual-band or multi-band panel if...
Choose a face mask if...
Choose a belt if...
Choose a mega panel or full-body mat if...
Below are deeper notes on every option in the comparison table, sorted by editorial score. Jump directly from the table pins or the cost section.
Hooga · Panel
Best for: The default dual-band mid panel: 60 LEDs, timer, stand, sensible price
HG300 is the panel most people should beat before upgrading: dual-band, timer, stand, 60 LEDs. Buy it to build real dosing habits — then size up only when coverage — not novelty — is missing. Treat 6–12–18 inch distances as different prescriptions. Fluence = irradiance × time at that distance. Dual-band keeps the SKU simple; add 810 nm later only if your protocol needs it. Choose HG300 as the reference mid panel. Choose Hooga dual-chip 60 if you specifically want dual-chip dies.
Estimated ownership: about $220 in year 1 and
$245 over 3 years.
Panel + stand. Add quality goggles for close facial work.
Mito Red Light · Panel
Best for: Prestige mega-panel coverage when Mito testing culture and size ladder top out
MitoMEGA 2.0 is the prestige mega-panel endgame: maximum Mito field with documentation-first branding. Buy it when brand trust and contiguous coverage beat LEDs-per-dollar scoreboards. Mega panels forgive fewer mount mistakes — fix distance, then stop chasing higher wattage stickers. Eye protection and facial fluence control matter more as total power rises. Choose MEGA for Mito max. Choose BestQool 470W or Hooga HG1500 when value coverage wins.
Estimated ownership: about $1,120 in year 1 and
$1,180 over 3 years.
Hardware + robust mount. Compare total to Hooga HG1500 and BestQool 470W before committing.
Hooga · Panel
Best for: A cleaner four-band story (630, 660, 810, 850 nm) when you want red plus NIR depth options in one fixture
Hooga’s quad-chip panel is for people who outgrew dual-band and want 630/660 plus 810/850 in one lamp. Buy the extra bands when your use cases span superficial skin and deeper targets — not because four is a luckier number than two. 810 nm sits in a commonly studied NIR window; 850 nm is the consumer NIR staple — both are depth-oriented relative to red. 630 and 660 nm both address superficial red absorption with slightly different peaks. Choose quad-chip when you want wavelength flexibility. Stay on HG300 if dual-band already matches your protocol.
Estimated ownership: about $430 in year 1 and
$460 over 3 years.
Panel hardware. Eye protection for close work. No subscription.
Mito Red Light · Panel
Best for: Mito mid coverage when documentation matters and you outgrew MIN
MitoMID 2.0 is the middle of the Mito ladder: more area than MIN, less commitment than MAX/MEGA. Buy it when coverage — not another wavelength sticker — was what MIN lacked. Mid panels cut repositioning for torso sections versus desk bricks. Ask for irradiance at your intended distance, not a single heroic surface number. Choose MID for Mito sizing. Choose MAX/MEGA when one-pose coverage is the goal.
Estimated ownership: about $480 in year 1 and
$510 over 3 years.
Hardware + optional Mito stand ecosystem.
BestQool · Panel
Best for: Four-wavelength step-up (~630–940 nm class) with 100 LEDs without mega-panel pricing
BestQool 160W is the multi-band mid rung: 100 LEDs and a 630–940 nm story. Buy it when you want wavelength breadth and more area than a 50W brick — then still dose by irradiance × time. Multi-band panels mix superficial red with deeper NIR candidates — pick targets, then verify fluence. 100 LEDs reduce shuffling versus mini panels for thighs and torso sections. Choose 160W for multi-band mid. Choose 330W/470W when LED count is the bottleneck.
Estimated ownership: about $330 in year 1 and
$360 over 3 years.
Hardware + mount. Eye protection for close work.
Mito Red Light · Panel
Best for: Brand-led compact panel when documentation and ecosystem matter more than raw LED count
MitoMIN 2.0 is compact PBM with a documentation-first brand. Buy it when you care about published testing culture more than maximizing LEDs per dollar. Prefer brands that publish irradiance at stated distances with method notes (spectroradiometer vs solar meter). Size class favors face/neck — do not expect posterior-chain coverage. Choose MIN for compact Mito. Choose MID/MAX/MEGA when area is the constraint.
Estimated ownership: about $275 in year 1 and
$300 over 3 years.
Hardware. Stands and glasses add optional spend.
CurrentBody · Mask
Best for: Premium cosmetic LED mask routines when facial skin — not muscle recovery — is the primary use case
CurrentBody Series 2 is the premium cosmetic mask lane: comfortable, face-mapped LEDs, skincare-first marketing. Buy it for wrinkles and glow goals — not because a mask automatically equals clinical photobiomodulation for muscle. Facial PBM RCTs exist; consumer masks still vary in irradiance and session design. Hands-free adherence is the real product feature versus standing still at a panel. Choose CurrentBody for premium face habit. Choose a panel when body targets matter.
Estimated ownership: about $470 in year 1 and
$520 over 3 years.
Mask hardware. Compare versus a mid panel if you also want body coverage — this is face money.
Lifepro · Belt
Best for: Localized contact dosing for waist, back, or joints while you sit or work
Lifepro Allevared is contact PBM for a stripe of tissue: wrap, timer, dual-band LEDs. Buy it for low-back or joint-focused sessions when a panel is socially awkward or you want fixed distance. Contact wraps remove the distance variable — fluence then depends on LED density and time. Great for “while answering email” adherence on one body region. Choose a belt for local jobs. Choose a mat when you want larger contact coverage.
Estimated ownership: about $120 in year 1 and
$150 over 3 years.
Belt hardware. Controllers and straps are the wear items over years.
Generic full-body mat · Mat
Best for: Contact full-body coverage when lying down beats standing in front of a vertical panel
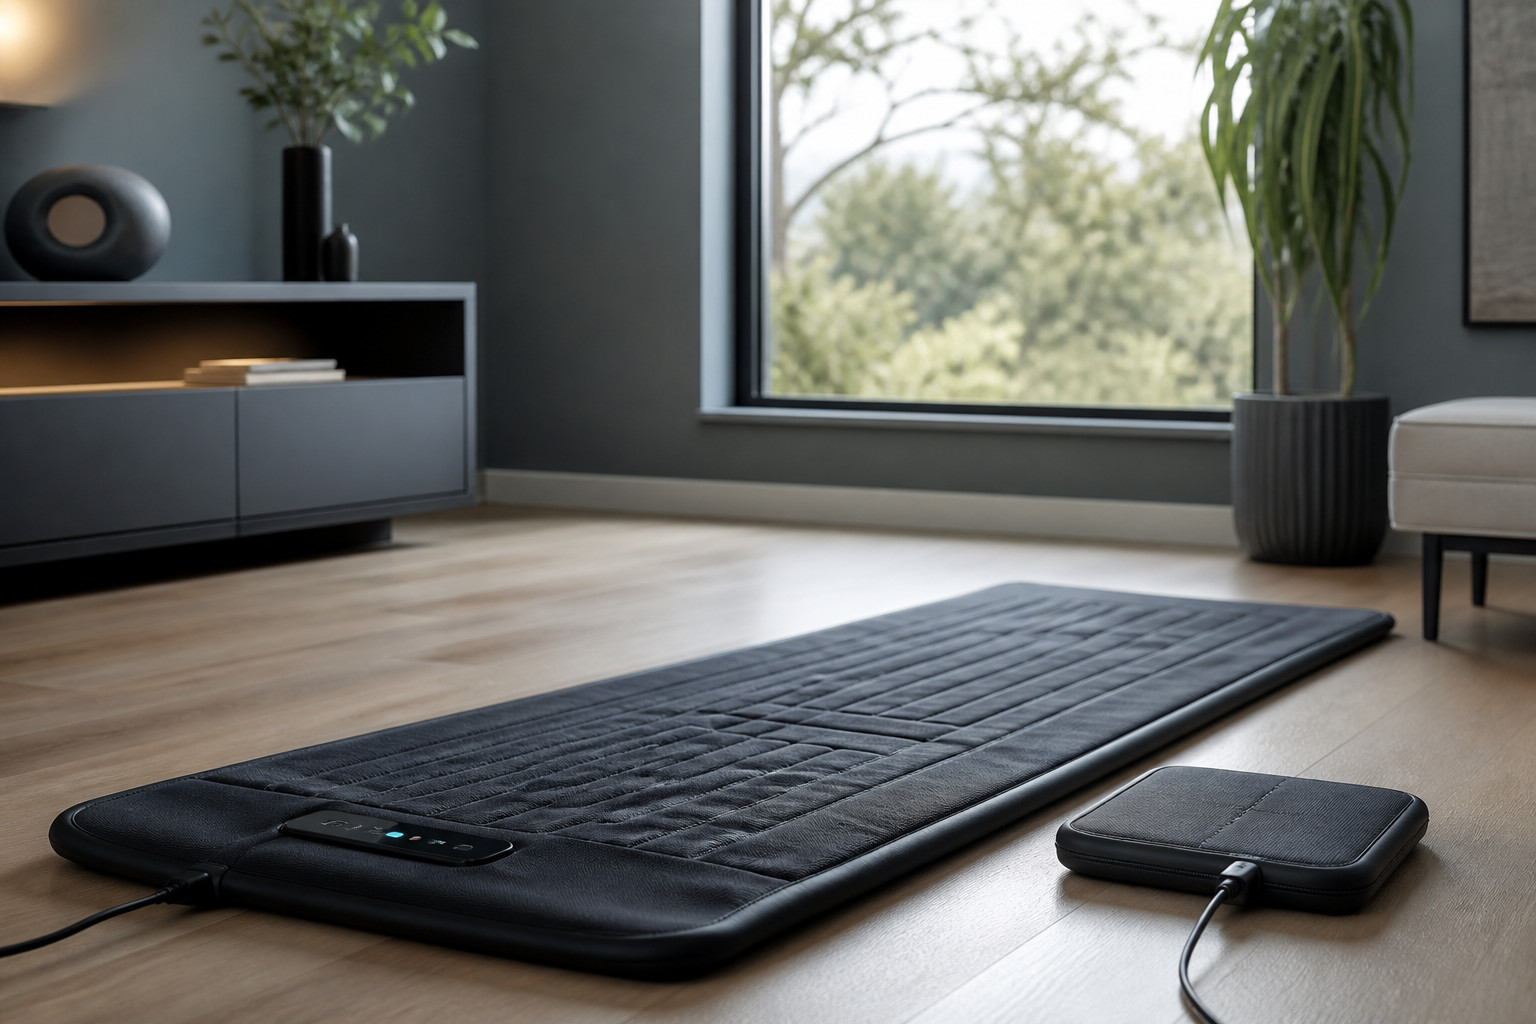
Full-body mats and bags chase contact coverage: lie down, light the surface, skip the stare-at-the-panel ritual. Buy one for adherence and area — then treat LED-count marketing as entertainment until irradiance is credible. Contact full-body geometry is a different product class from vertical stand-off panels. High LED counts look impressive; fluence uniformity across the mat is what matters. Choose a mat for lie-down coverage. Choose MitoMEGA when you prefer standing panel sessions.
Estimated ownership: about $740 in year 1 and
$800 over 3 years.
Mat hardware. Floor space and storage matter. Inspect build quality on arrival.
BestQool · Panel
Best for: Named-brand entry dual-chip panel for face, neck, and small targets
BestQool’s 50W dual-chip is the named-brand starter brick: small, dual-band, honest about being a face/limb tool. Buy it when coverage needs are small — not when you want one-pose torso dosing. Match panel height to the job. Face and neck do not need 300 LEDs. Rated watts ≠ irradiance at 6 inches. Demand distance-labeled mW/cm² when comparing to larger BestQool units. Choose 50W for focused work. Step to 160W+ when body coverage becomes the bottleneck.
Estimated ownership: about $160 in year 1 and
$185 over 3 years.
Hardware + goggles. Electricity is negligible.
INIA · Mask
Best for: Budget cosmetic face dosing where contact geometry beats standing in front of a panel
INIA-class masks are the cheap cosmetic door: contact LEDs on the face, not a recovery lab. Buy one to test facial adherence — then demand published irradiance before treating it like a clinic panel. Contact masks fix distance (good) but often under-specify fluence (bad for science cosplay). Blue light modes target different skin goals than mitochondrial red/NIR PBM. Choose INIA to experiment cheaply. Choose CurrentBody when you want a more premium cosmetic stack.
Estimated ownership: about $90 in year 1 and
$110 over 3 years.
Mask hardware. Battery wear may drive replacement within a few years of heavy use.
Detailed reviews
Hooga HG300 Panel
Pros
Cons
Choose this if
Skip this if
Mito Red Light MitoMEGA 2.0
Pros
Cons
Choose this if
Skip this if
Hooga Quad-Chip Four-Wavelength Panel
Pros
Cons
Choose this if
Skip this if
Mito Red Light MitoMID 2.0
Pros
Cons
Choose this if
Skip this if
BestQool 160W Four-Wavelength Panel
Pros
Cons
Choose this if
Skip this if
Mito Red Light MitoMIN 2.0
Pros
Cons
Choose this if
Skip this if
CurrentBody Skin LED Mask Series 2
Pros
Cons
Choose this if
Skip this if
Lifepro Allevared Red Light Belt
Pros
Cons
Choose this if
Skip this if
Full-Body Red Light Therapy Mat
Pros
Cons
Choose this if
Skip this if
BestQool 50W Dual-Chip Panel
Pros
Cons
Choose this if
Skip this if
INIA LED Face Mask
Pros
Cons
Choose this if
Skip this if
Use cases that map to devices
Cosmetic facial skin. Contact masks (INIA, CurrentBody) win on adherence and fixed distance. Facial PBM RCTs exist for wrinkle-related endpoints — that is a skincare evidence stack, not a free pass for every recovery claim.
Focal joints and back stripes. Belts and wraps (Lifepro Allevared) deliver contact dosing while you sit. Small area, honest job.
Mixed face and limb PBM. Dual-band panels (Hooga HG300, BestQool 50W, MitoMIN) teach distance and time. Mid and multi-band panels (BestQool 160W, Hooga quad, MitoMID) reduce repositioning.
Body-scale sessions. Large panels (MitoMEGA) or full-body mats trade money and space for coverage. Muscle-oriented PBM literature is a different conversation than “glow mask before dinner.”
Not the same as heat. Infrared saunas are thermal stress tools. See Infrared vs Traditional Heat Physiology when the red glow is actually a heater.
How to choose a form factor
The short version lives here. The deep dive — panels vs masks vs belts vs mats vs handhelds — is Red Light Therapy Form Factors.
- Name the tissue and the goal. Face cosmetics ≠ hamstring recovery ≠ “I saw a podcast.”
- Pick geometry. Contact (mask/belt/mat) vs stand-off panel.
- Match coverage. Spot, region, or large-area — then stop buying LEDs you will never aim.
- Demand dose literacy. Irradiance at distance × time beats wattage theater.
- Protect eyes and escalate medical issues. Bright panels are not toys.
Quick recommendations by persona
- Curious beginner, low spend: BestQool 50W or INIA mask
- Learn real dual-band panel habits: Hooga HG300
- Want multi-band flexibility: Hooga Quad-Chip or BestQool 160W
- Premium face-only routine: CurrentBody Series 2
- Local low-back contact: Lifepro Allevared
- Large coverage, standing: MitoMEGA 2.0
- Large coverage, lying down: Full-body mat class
The leading story is photobiomodulation (PBM): red and near-infrared photons interact with cellular chromophores — especially mitochondrial cytochrome c oxidase — which can shift electron transport, ATP, nitric oxide signaling, and downstream redox pathways. It is biology with a dose-response curve, not a spa color filter. Irradiance is power per area (often mW/cm²) at a given distance. Fluence (dose) is irradiance × time (J/cm²). A bright panel far away can under-dose; a weak LED held forever can overshoot or simply waste time. Distance is part of the prescription. They hit different depth and absorption profiles. Red (~630–660 nm) is more superficial and visible; near-infrared (~810–850 nm) penetrates deeper and is invisible. Dual-band panels are common because many protocols care about both skin-adjacent and deeper targets — but more wavelengths are not automatically better biology. Same broad physics family, different geometry and usually different goals. Masks fix distance on facial skin and excel at cosmetic adherence. Panels can deliver higher total power to larger regions if you manage distance. A glow on your cheekbones is not proof you dosed a hamstring. No. PBM often follows a biphasic (Arndt–Schulz-like) pattern: too little does little; a window helps; too much can flatten or reverse benefits. Muscle-rich tissues in parameter reviews often fail from overdosing as much as underdosing. No. Far-infrared saunas are heat tools. Photobiomodulation uses lower irradiances aimed at photochemical signaling, not core-temperature stress. Related heat physiology lives in Infrared vs Traditional Heat Physiology. Eyes first — especially at short distances with bright panels. Follow device guidance, use appropriate eye protection for high-output close work, and talk to a clinician if you have photosensitizing medications, eye disease, active skin cancer concerns, or unexplained pain you are self-treating.Red light therapy FAQ
How does red light therapy supposedly work?
+
What is the difference between irradiance and dose (fluence)?
+
Are 660 nm and 850 nm both necessary?
+
Do LED face masks count as the same therapy as body panels?
+
Can more light always help more?
+
Is red light the same as an infrared sauna?
+
What should I protect?
+
This comparison is designed for practical decision-making. Product capabilities, pricing, and memberships change quickly, so treat battery claims, plan costs, and feature availability as moving targets.
Core mechanism review: cytochrome c oxidase as a primary chromophore, nitric oxide dissociation hypothesis, ATP and redox signaling — including why stressed cells can respond differently from healthy ones. Maps fluence and irradiance ranges across tissue types; high-mitochondria tissues often need lower doses, and failed trials frequently look like overdosing rather than “red light does nothing.” Accessible clinical overview of wavelength windows, chromophores, and application domains from wound healing to inflammation. Muscle-focused PBM overview — useful when separating recovery claims from skin-only cosmetic panels. Facial PBM RCT with quantified wrinkle-volume change at a defined fluence — a cleaner cosmetic evidence stack than panel marketing copy.
Related Keersa context: Infrared vs Traditional Heat Physiology
Separates radiant heat tools from photobiomodulation — both can glow red; they are not the same intervention.
Related Keersa blog: Red Light Therapy Form Factors
Narrative geometry map — panels vs masks vs belts vs mats vs handhelds — with one preferred device per shell.
Affiliate disclosure: some product links on Keersa Health may earn a commission at no extra cost to you.
Editorial recommendations are independent of commercial relationships.
Read our full disclosure.
Sources and editorial notes
Bottom line
Start with the overview if you have not yet: The Recovery Protocol.
Red light therapy is interesting when you treat it like dosimetry with a story about mitochondria — not like a color-coded mood lamp. Buy the form factor that matches the tissue: mask for face adherence, belt for a stripe, panel for flexible stand-off dosing, mega panel or mat when coverage is the bottleneck. Related: Red Light Therapy Form Factors, Choosing a Red Light Panel, Infrared vs Traditional Heat Physiology, The Thermal Protocol, and Designing a Heat and Cold Routine.
Next: Choosing a Red Light Panel — nm ranges, irradiance claims, EMF skepticism, and the size ladder from desk bricks to full-body fixtures.